
Mammut
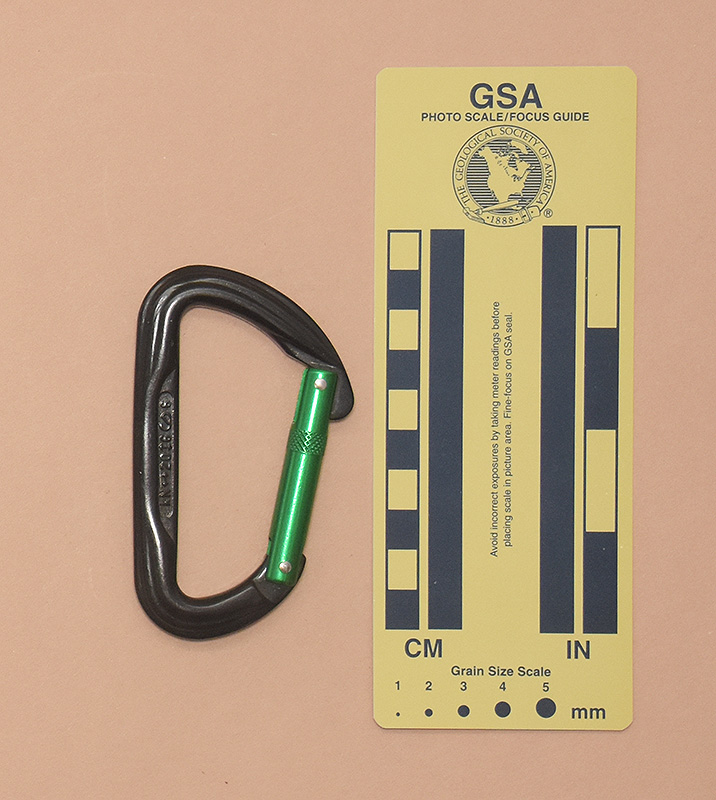
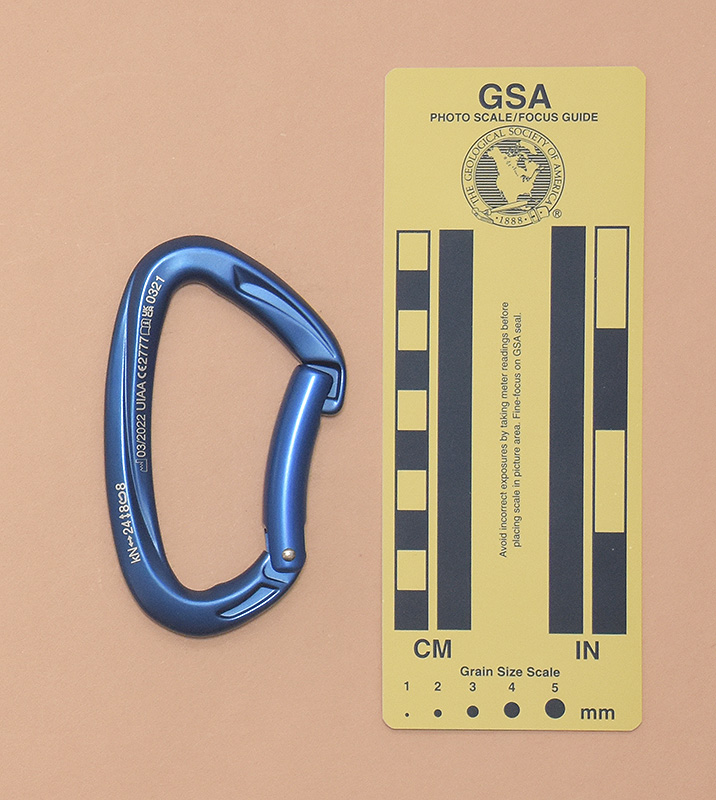
↑ 326: Mammut D
- 94x55 mm., 35 g.
- Gate Opening: 22 mm., Clearance: 18 mm.
- MAMMUT UIAA (L)
kN↔20↕6ⱷ7
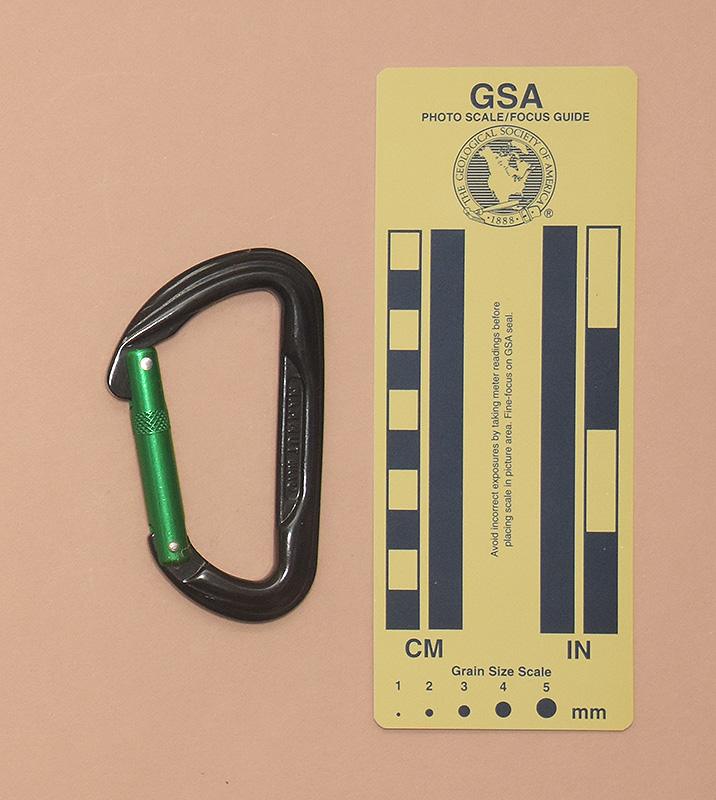
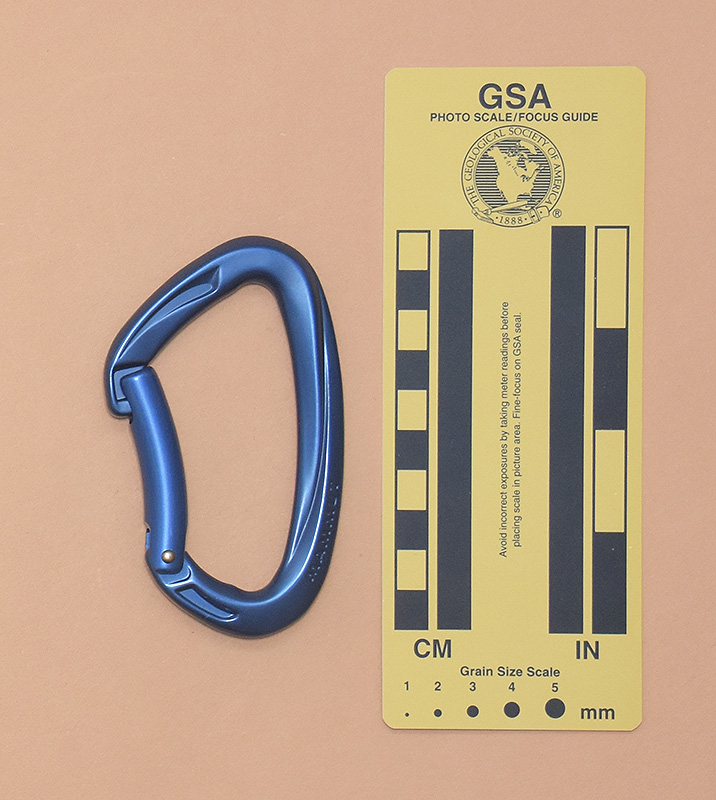
↑ 327: Mammut Bent Gate
- 94x54 mm., 34 g.
- Gate Opening: 22 mm., Clearance: 16 mm.
- MAMMUT UIAA (L)
kN↔20↕6ⱷ7
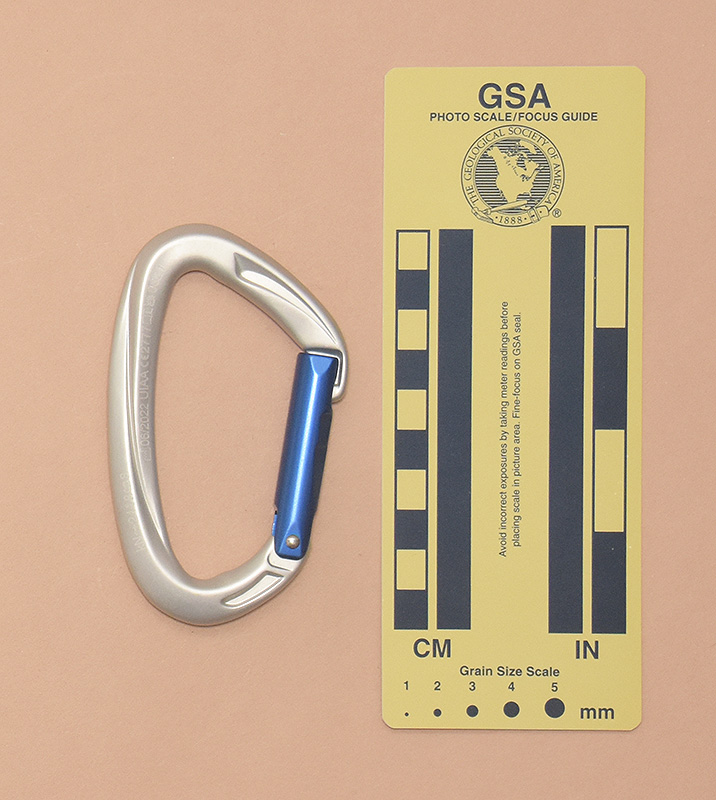
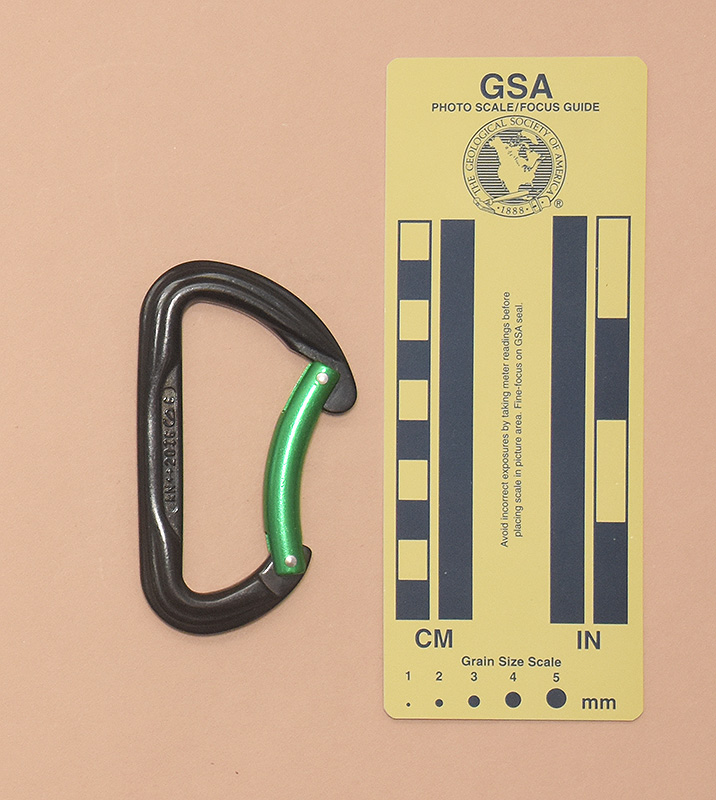
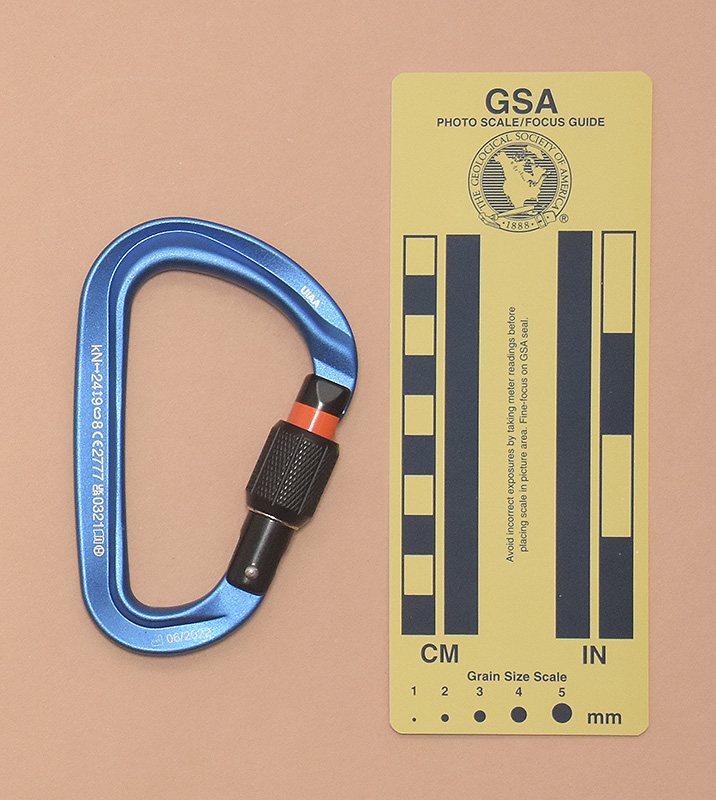
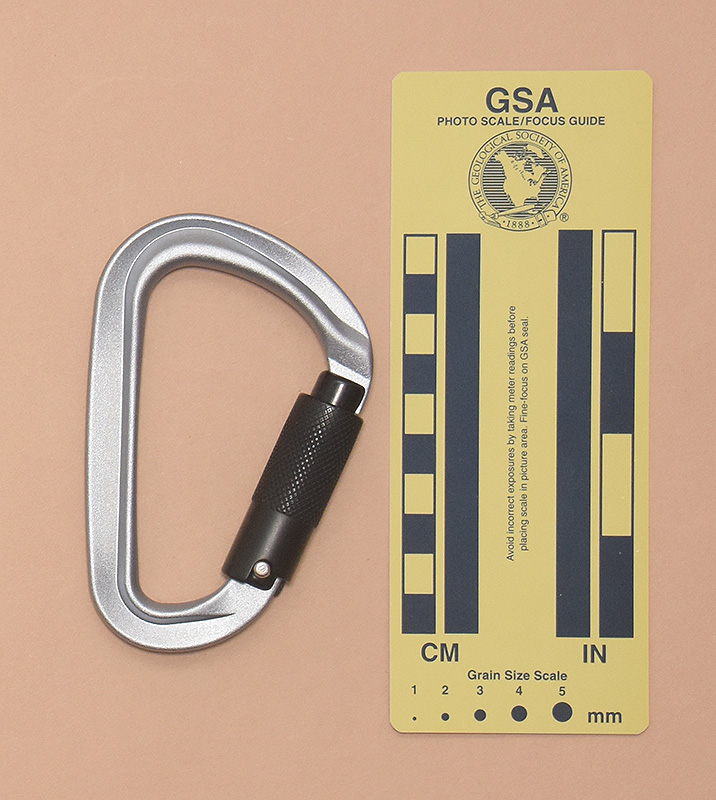
↑ 441: Mammut Crag Key Lock - Straight
- 101x59 mm., 47 g.
- Gate Opening: 21 mm., Clearance: 21 mm.
- kN↔24↕8ⱷ8 <factory>06/2022 UIaA CE2777<iBook><UKCA>0321
MAMMUT
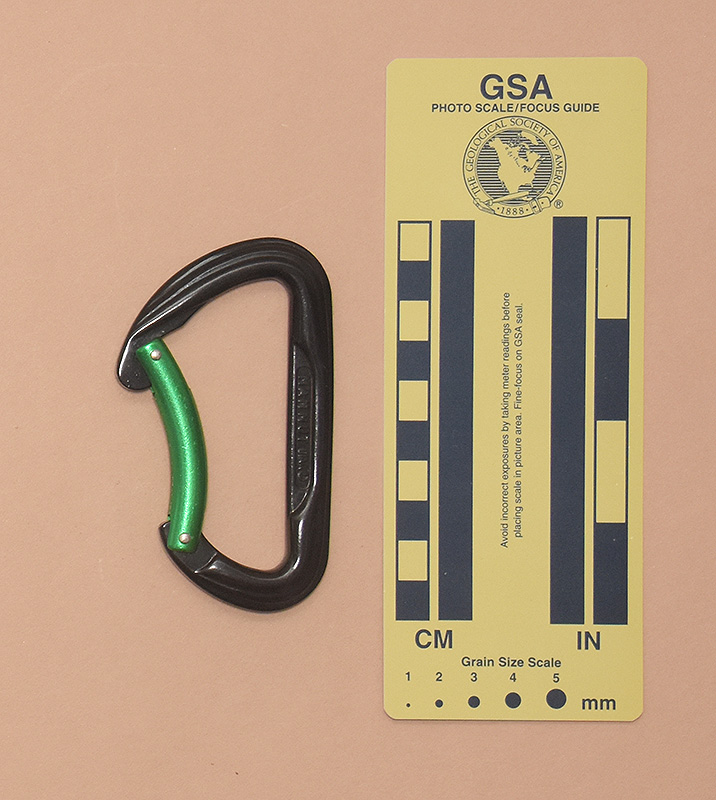
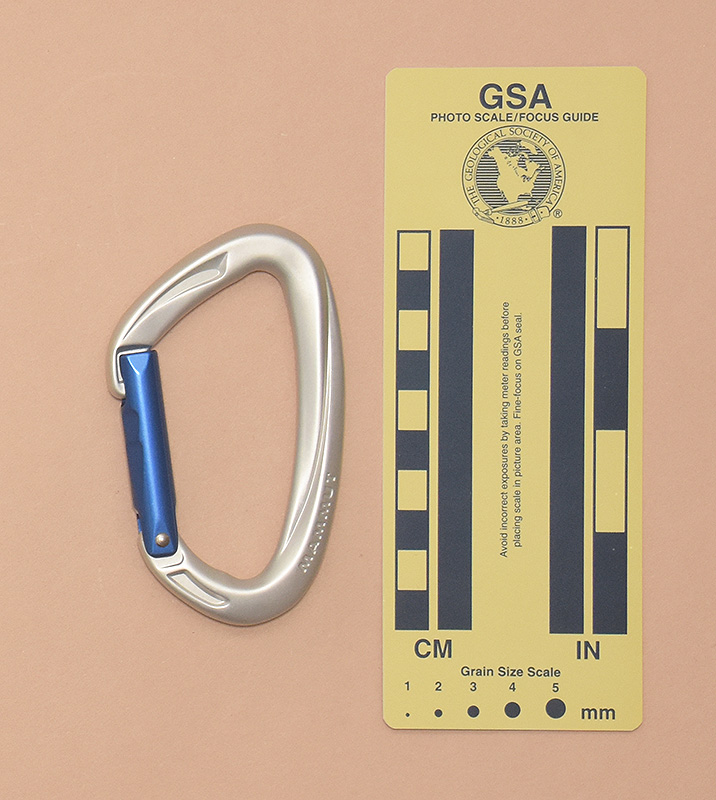
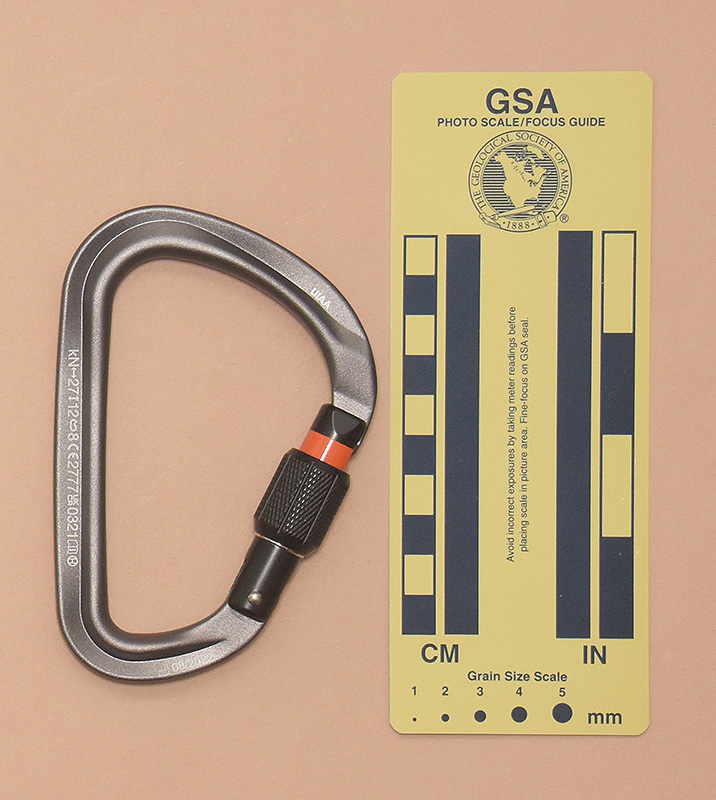
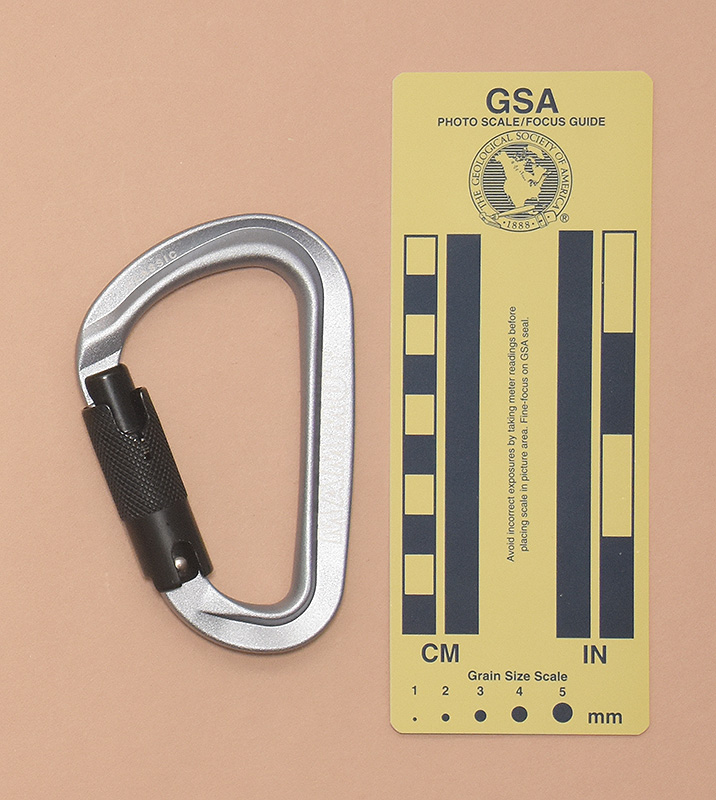
↑ 440: Mammut Crag Key Lock - Bent
- 100x60 mm., 47 g.
- Gate Opening: 24 mm., Clearance: 21 mm.
- kN↔24↕8ⱷ8 <factory>03/2022 UIaA CE2777<iBook><UKCA>0321
MAMMUT
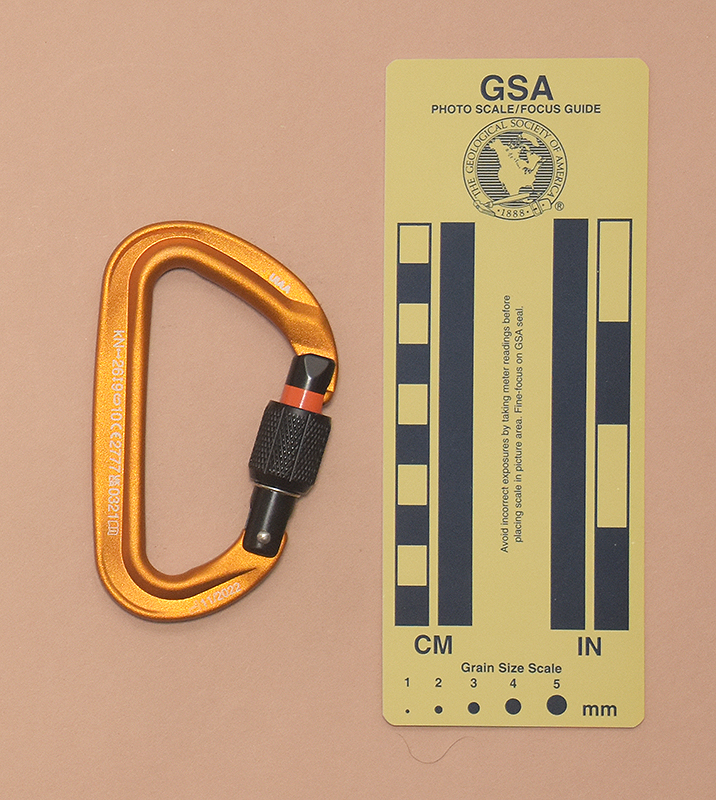
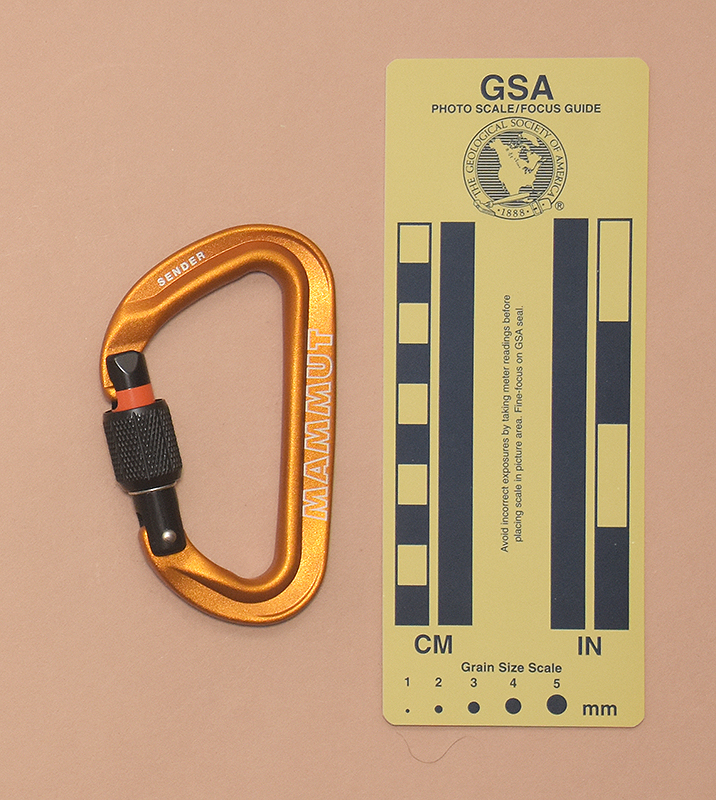
↑ 522: Mammut Sender Screwgate
- 99x60 mm., 48 g.
- Gate Opening: 19 mm., Clearance: 19 mm.
- UIAA kN↔26↕9ⱷ10CE2777<UKCA>0321<iBook> <factory>11/2022
SENDER MAMMUT
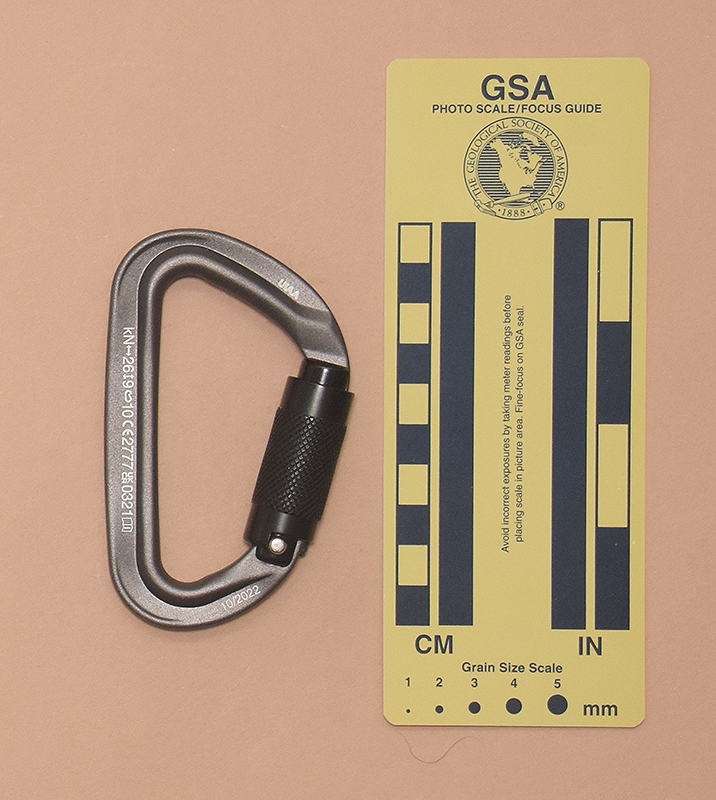
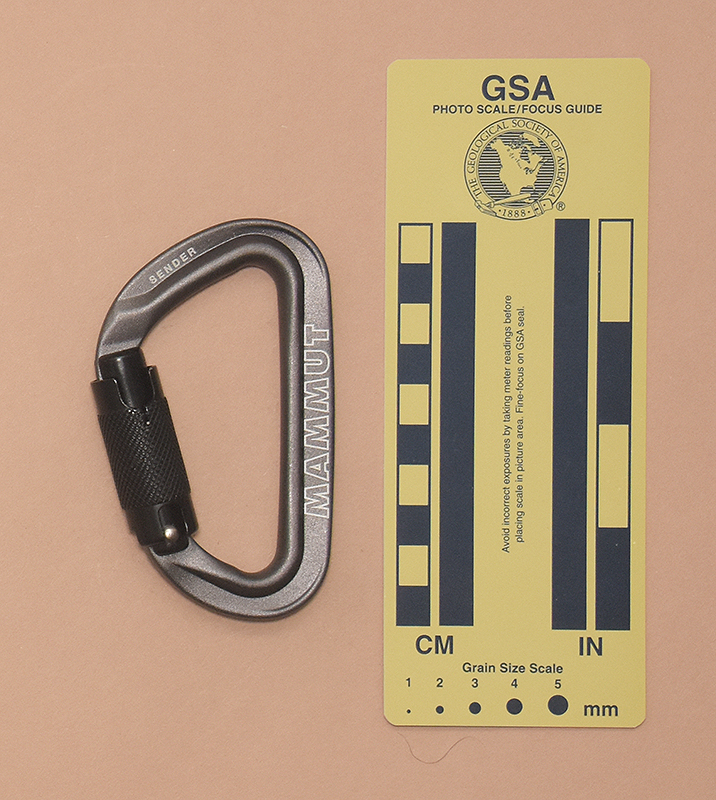
↑ 523: Mammut Sender Twistlock
- 99x61 mm., 56 g.
- Gate Opening: 18 mm., Clearance: 18 mm.
- UIAA kN↔26↕9ⱷ10CE2777<UKCA>0321<iBook> <factory>11/2022
SENDER MAMMUT
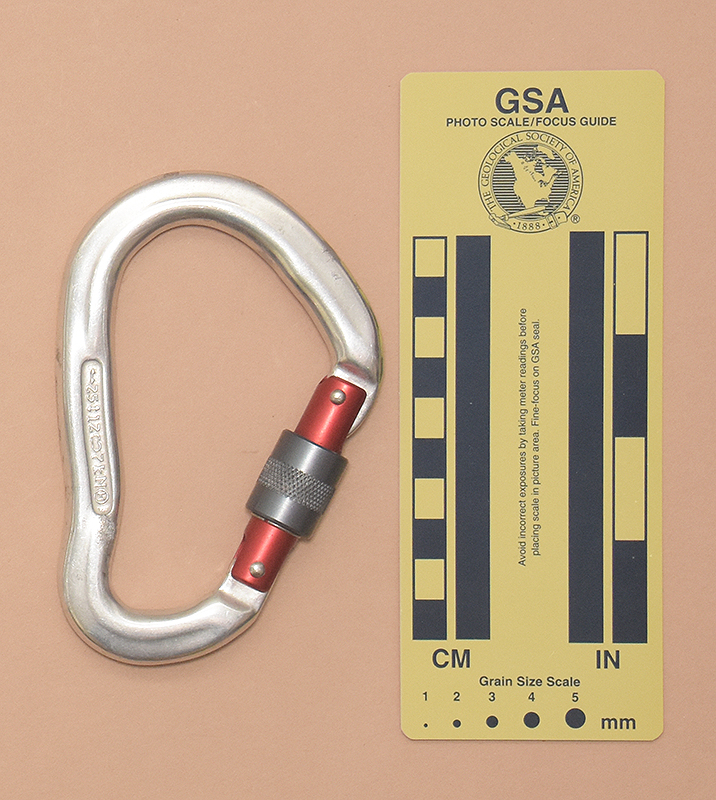

↑ 587: Mammut Screwgate HMS
- 123x81 mm., 96 g.
- Gate Opening: 23 mm., Clearance: 23 mm.
- ↔25↕12ⱷ7kN(H)
Mammut HMS UIAA
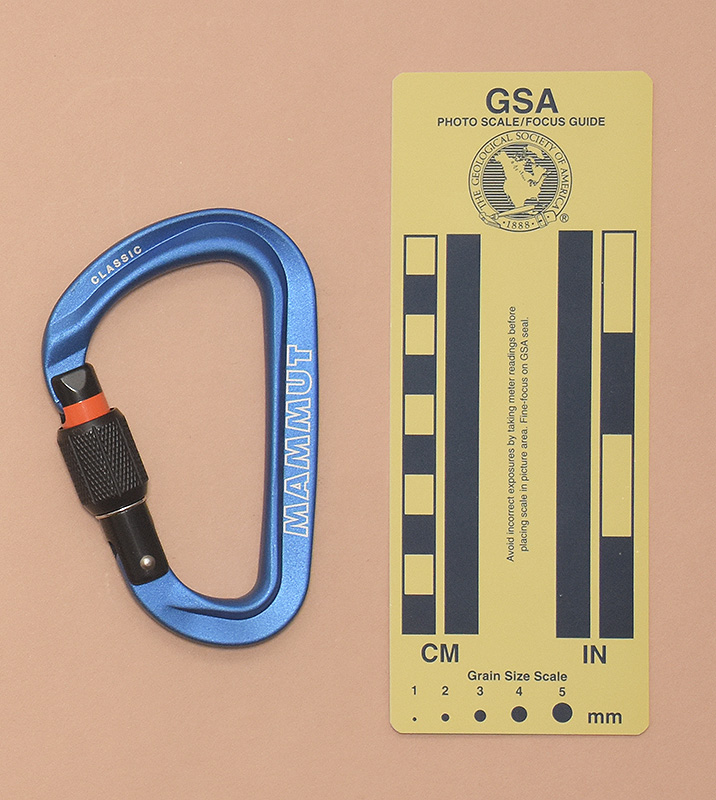
↑ 026: Mammut Classic HMS Screwgate
- 109x70 mm., 63 g.
- Gate Opening: 24 mm., Clearance: 23 mm.
- UIAA kN↔24↕9ⱷ8 CE2777 <UKCA>0321<iBook> (H) <factory>06/2022
CLASSIC MAMMUT
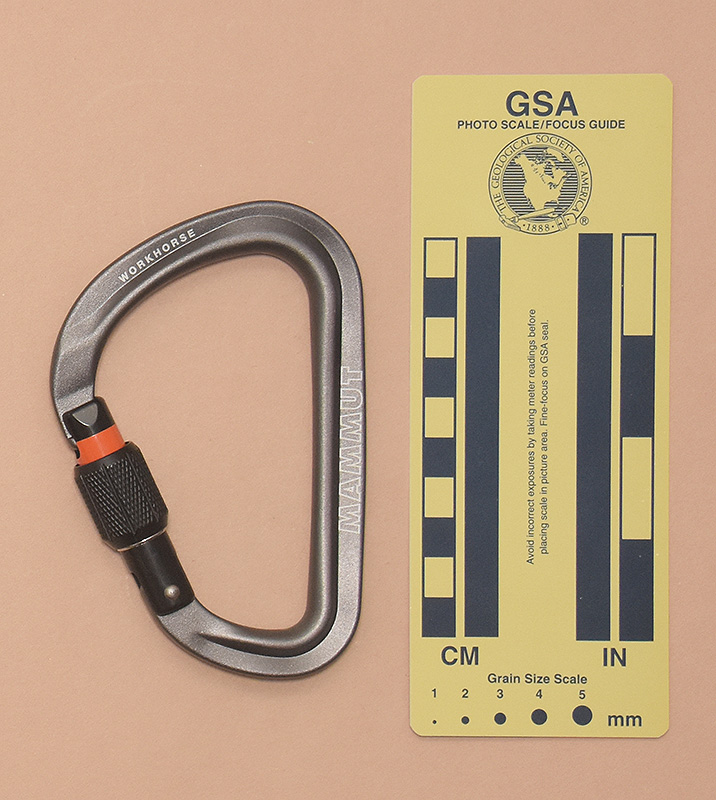
↑ 028: Mammut Workhorse HMS Screwgate
- 119x79 mm., 75 g.
- Gate Opening: 28 mm., Clearance: 28 mm.
- UIAA kN↔27↕2ⱷ8 CE2777 <UKCA>0321<iBook> (H) <factory>08/2022
WORKHORSE MAMMUT
↑ 027: Mammut Classic HMS Twistlock Plus
- 110x70 mm., 68 g.
- Gate Opening: 23 mm., Clearance: 22 mm.
- UIAA kN↔24↕9ⱷ8 CE2777 <UKCA>0321<iBook> (H) <factory>08/2022
CLASSIC MAMMUT
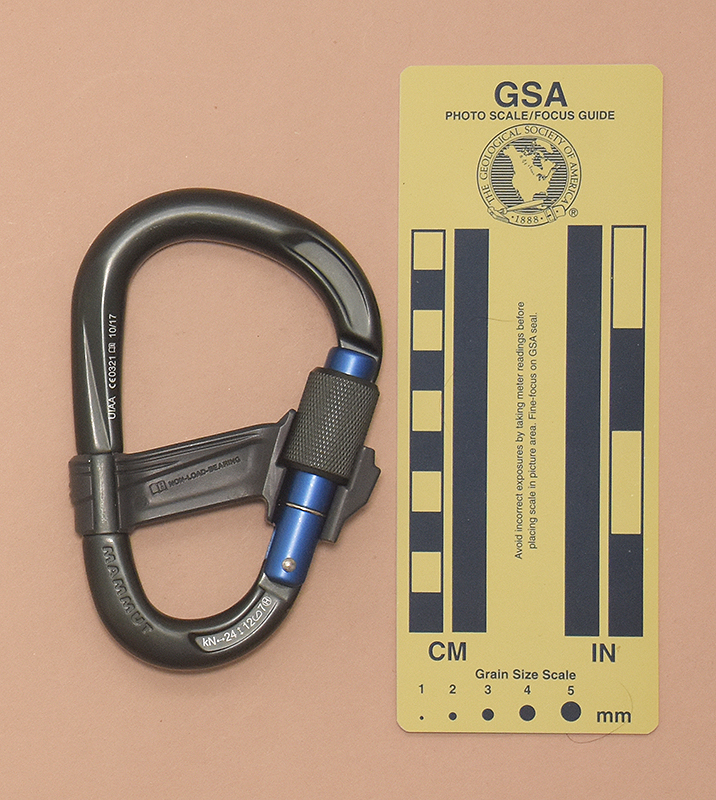

↑ 580: Mammut Smart HMS
- 119x76 mm., 103 g.
- Gate Opening: 27 mm., Clearance: 27 mm.
- MAMMUT kN↔24↕12ⱷ7(H) UIAA CE0321 <iBook> 10/17
MAMMUT
–
<iBook> NON-LOAD-BEARING
SMART HMS - Plastic Guard. Came with Mammut Smart 2.0 (#2730)

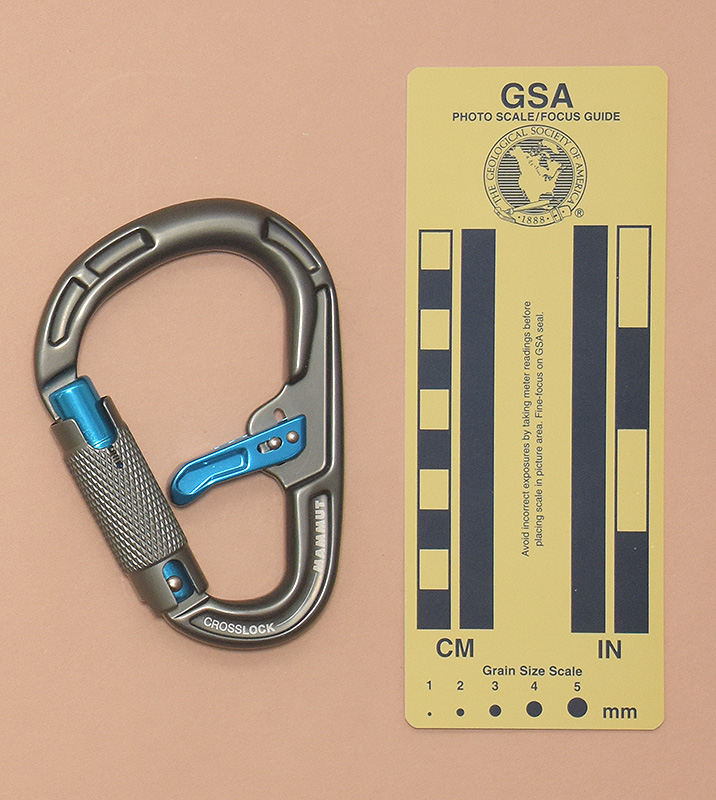
↑ 025: Mammut Bionic CrossLock
- 112x77 mm., 95 g.
- Gate Opening: 21 mm., Clearance: 21 mm.
- CE2777UIAA<iBook> <factory> 06/2020 kN ↔20↕9ⱷ7(H)
CROSSLOCK MAMMUT - Gate opening forces spring-loaded keeper down