
Black Diamond
Wiregates
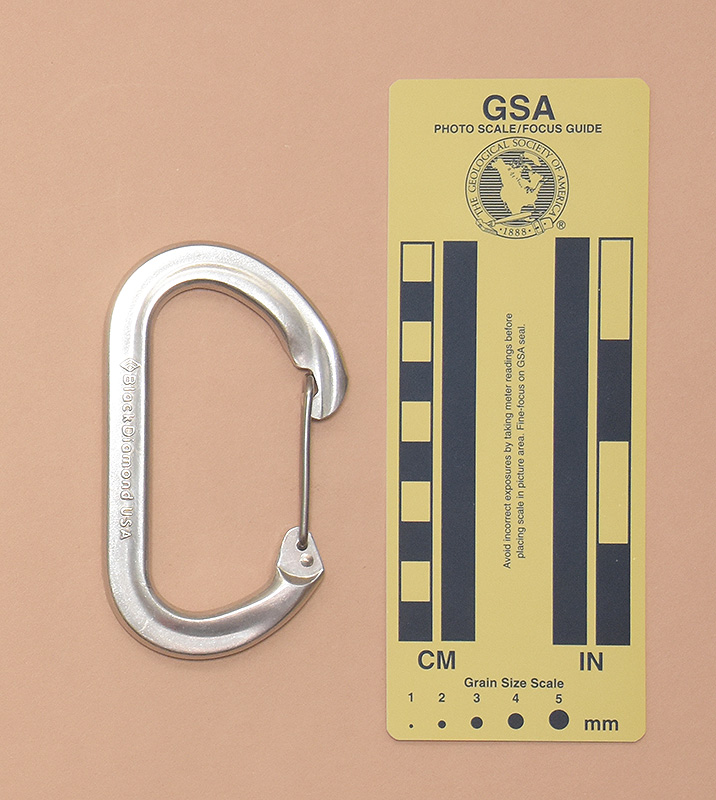
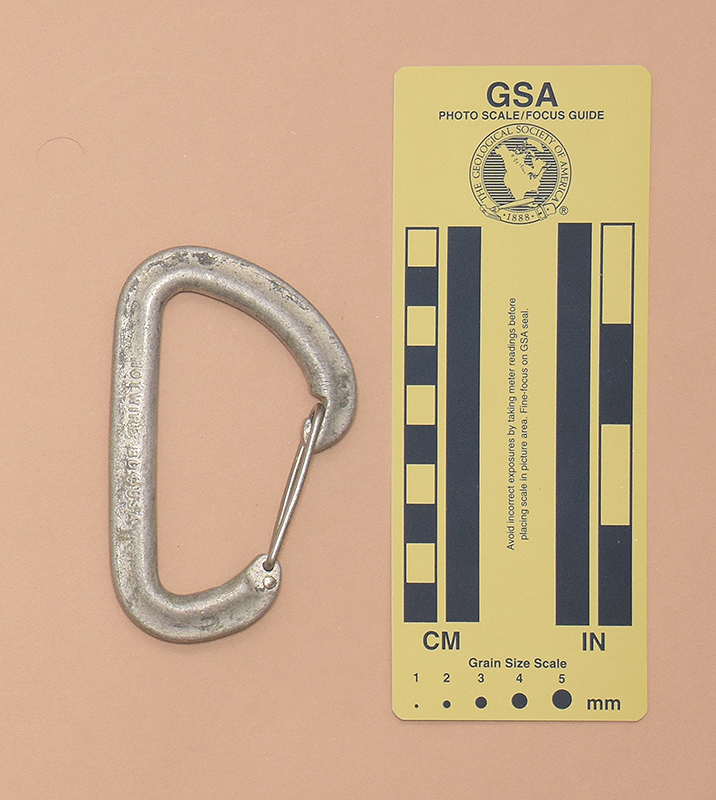
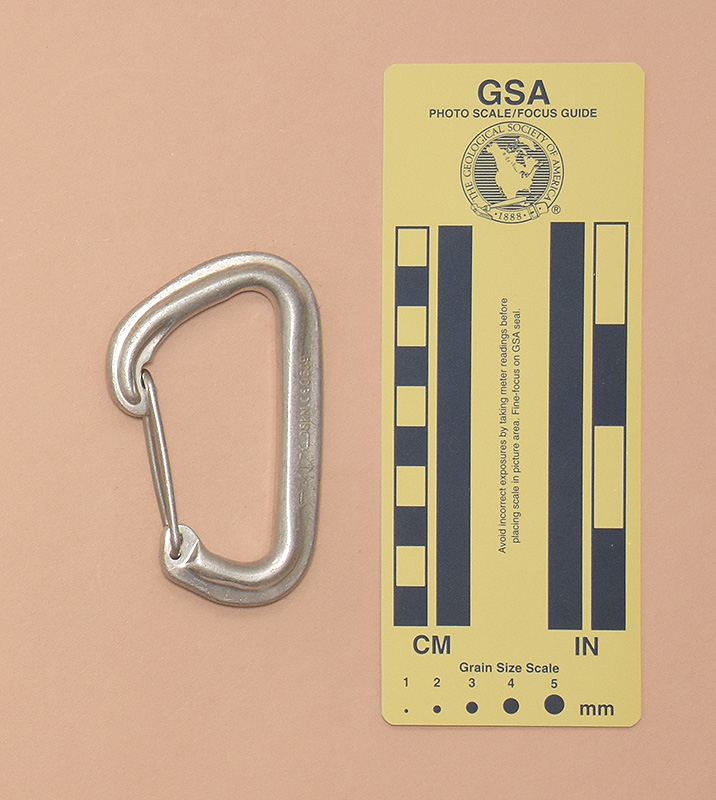
↑ 314: Black Diamond Oval Wiregate
- 105x61 mm., 47 g.
- Gate Opening: 26 mm., Clearance: 26 mm.
- <BD logo>Black Diamond USA
↔23↕7ⱷ7kN CE0639
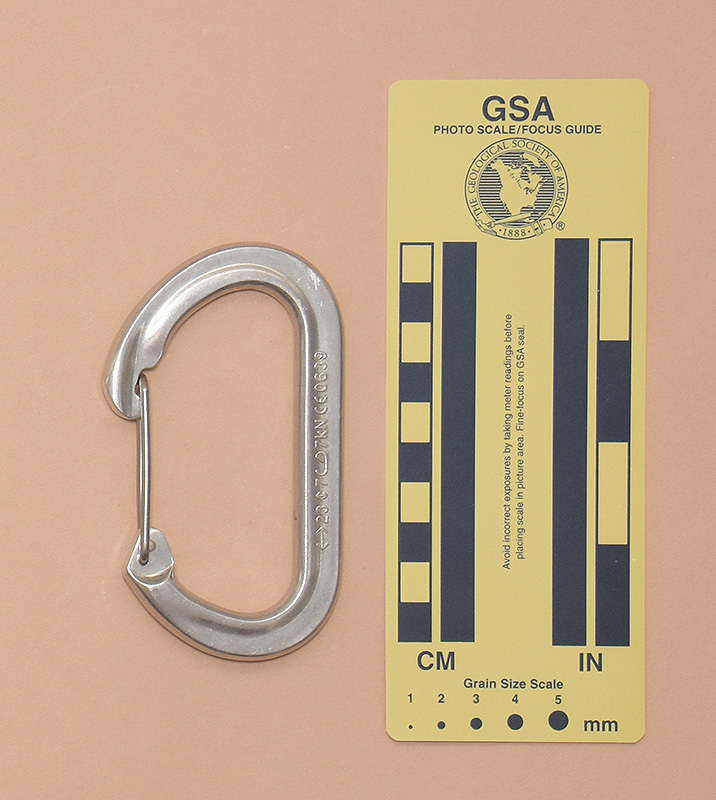
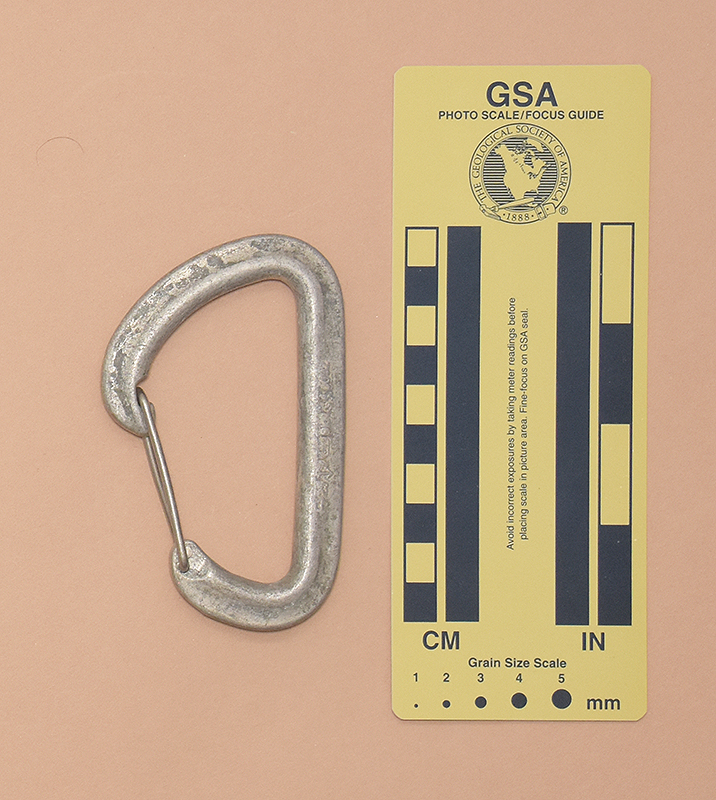
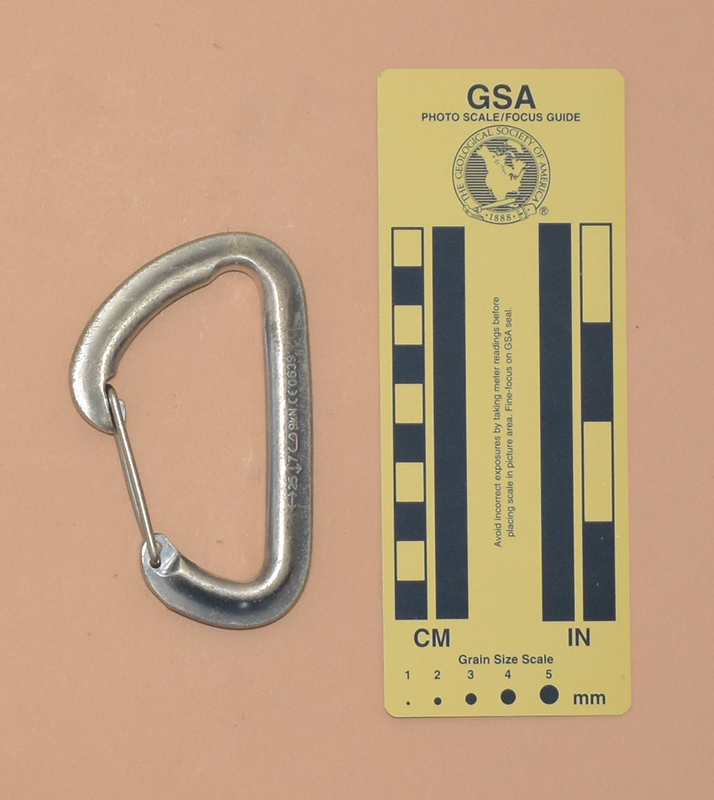
↑ 130: Black Diamond Wire Gate
- 100x62 mm., 44 g.
- Gate Opening: 25 mm., Clearance: 24 mm.
- BLACK◊DIAMOND USA
↔25ⱷ10↕7kN
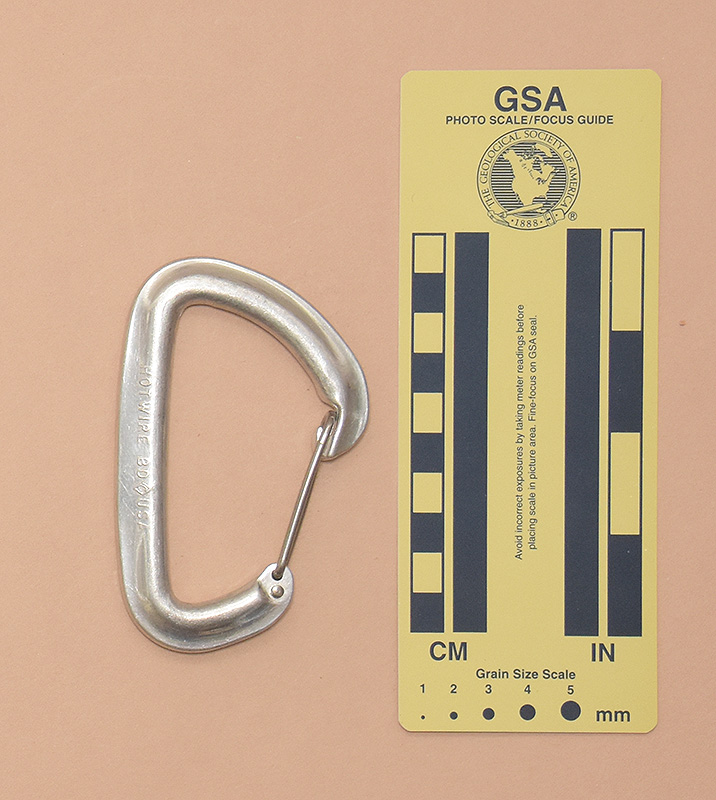
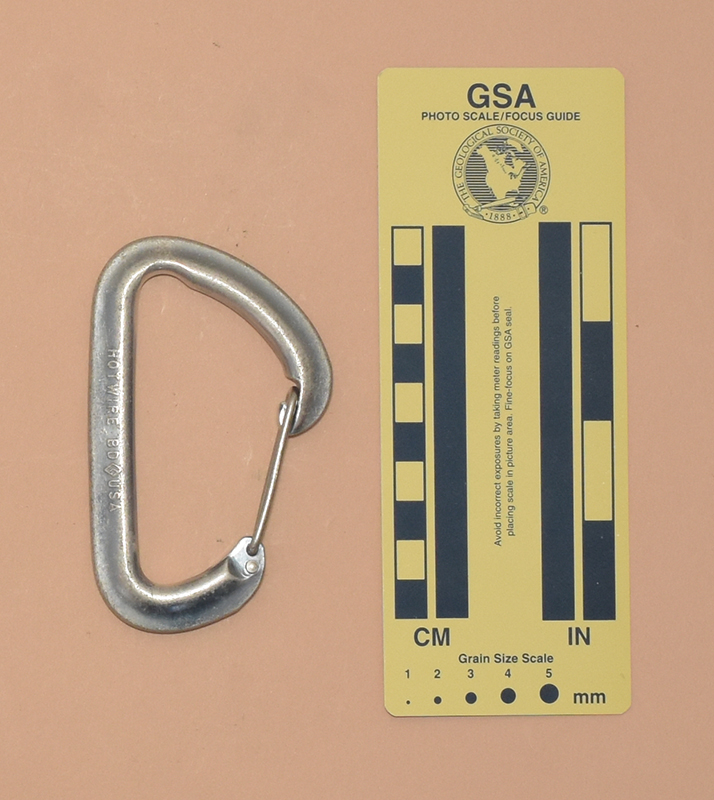
↑ 158: Black Diamond Hotwire
- 100x62 mm., 45 g.
- Gate Opening: 24 mm., Clearance: 24 mm.
- HOTWIRE BD◊USA
↔25ⱷ9↕7 CE 0082
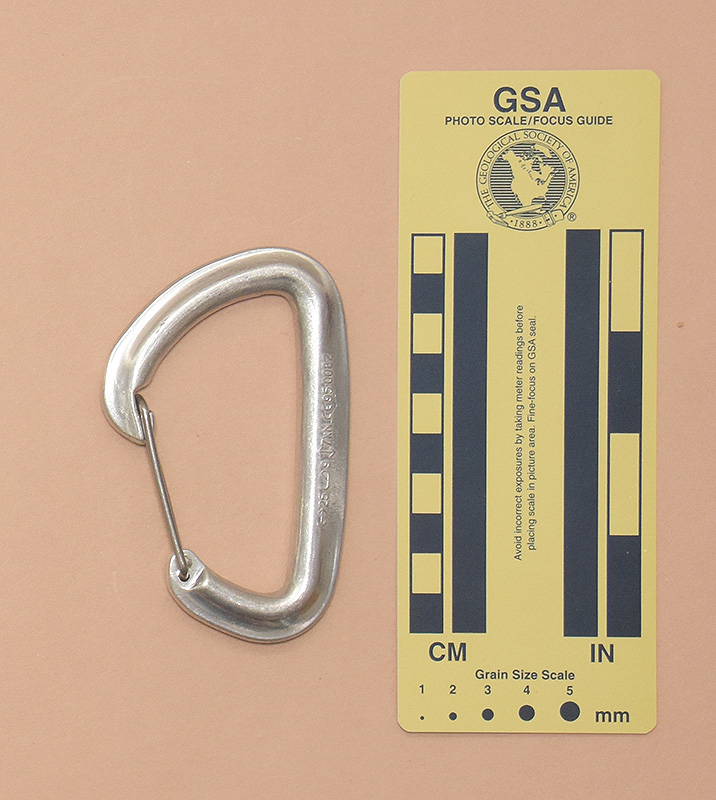
↑ 114: Black Diamond Hotwire
- 99x62 mm., 44 g.
- Gate Opening: 25 mm., Clearance: 24 mm.
- HOTWIRE BD◊USA
↔25ⱷ9↕7 CE 95 0082
↑ 677: Black Diamond Hotwire
- 101x62 mm., 45 g.
- Gate Opening: 24 mm., Clearance: 24 mm.
- HOTWIRE BD◊USA
↔25↕7ⱷ9 CE0639 - Rope-worn groove at inner top
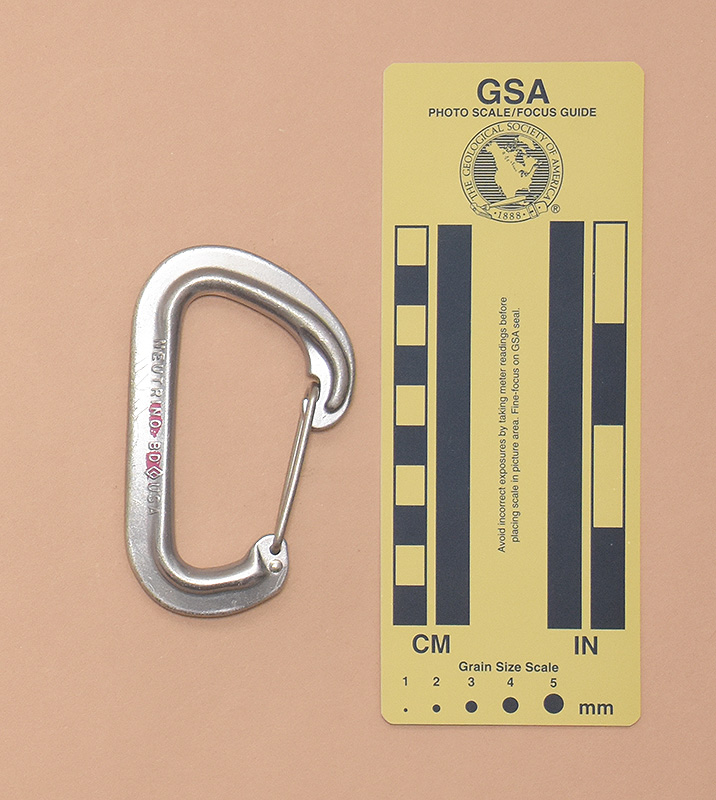

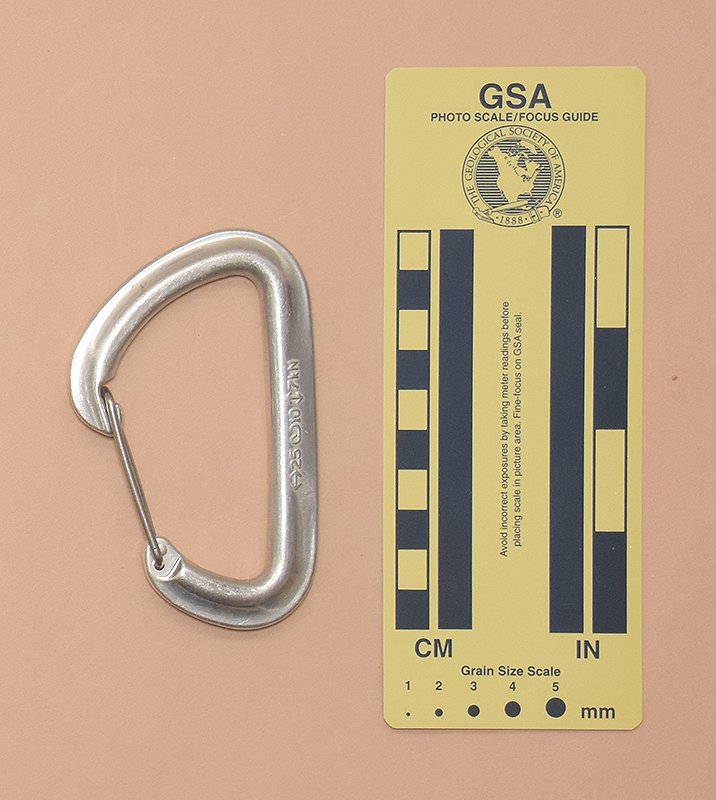
↑ 477: Black Diamond Neutrino
- 93x56 mm., 37 g.
- Gate Opening: 22 mm., Clearance: 21 mm.
- NEUTRINO BD<BD logo>USA
↔24↕7ⱷ7kN CE0333
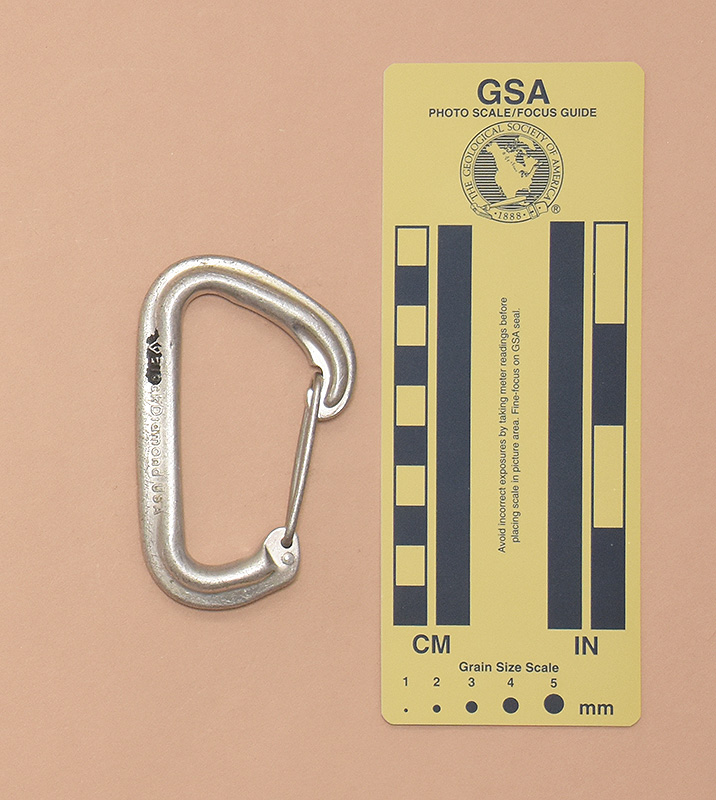
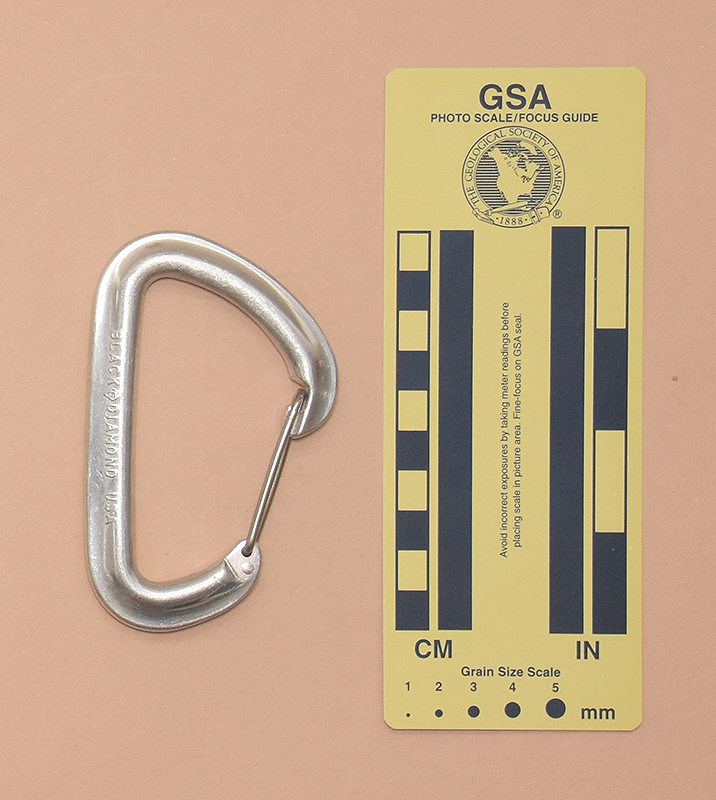
↑ 478: Black Diamond Wiregate
- 89x55 mm., 35 g.
- Gate Opening: 22 mm., Clearance: 19 mm.
- <BD logo>BlackDiamond USA
↔24↕7ⱷ8kNCE0636
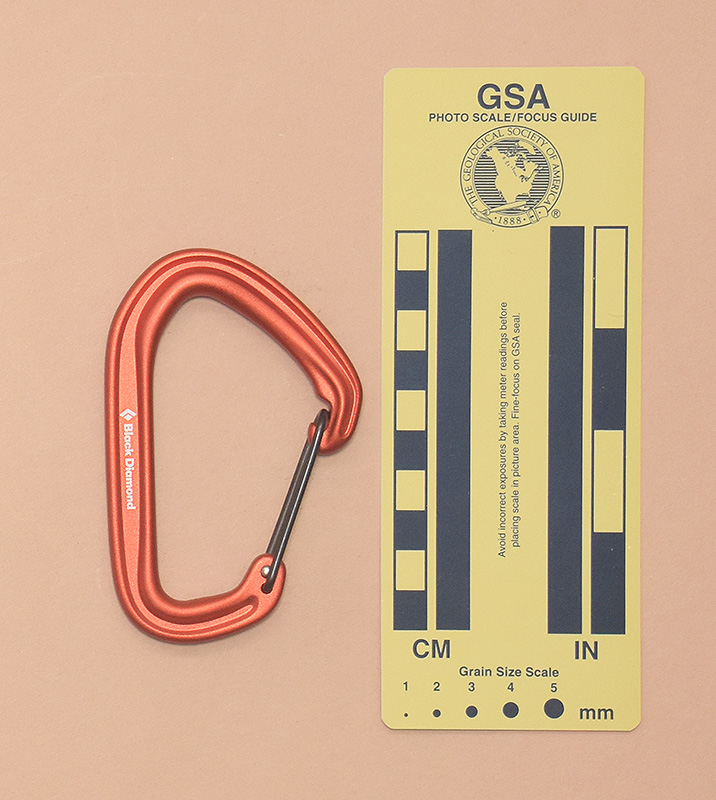
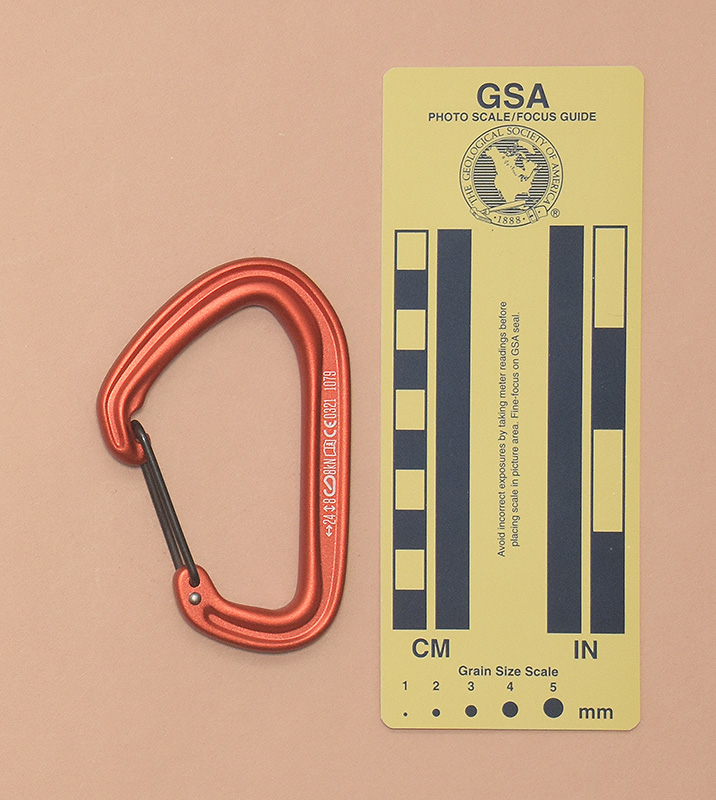
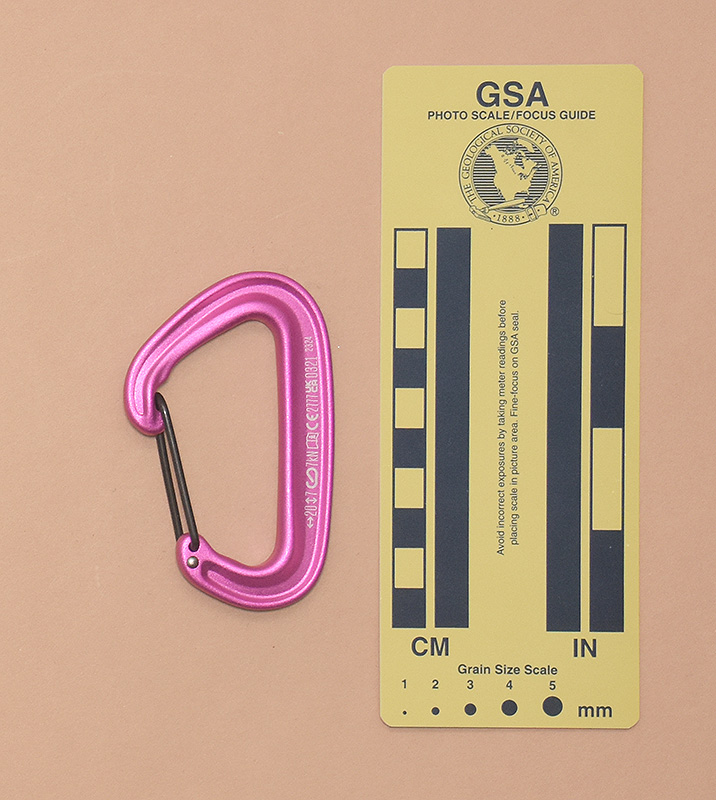
↑ 355: Black Diamond HotWire
- 99x64 mm., 41 g.
- Gate Opening: 27 mm., Clearance: 25 mm.
- <BD logo> Black Diamond
↔24↕8ⱷ8kN<iBook>CE0321 1079
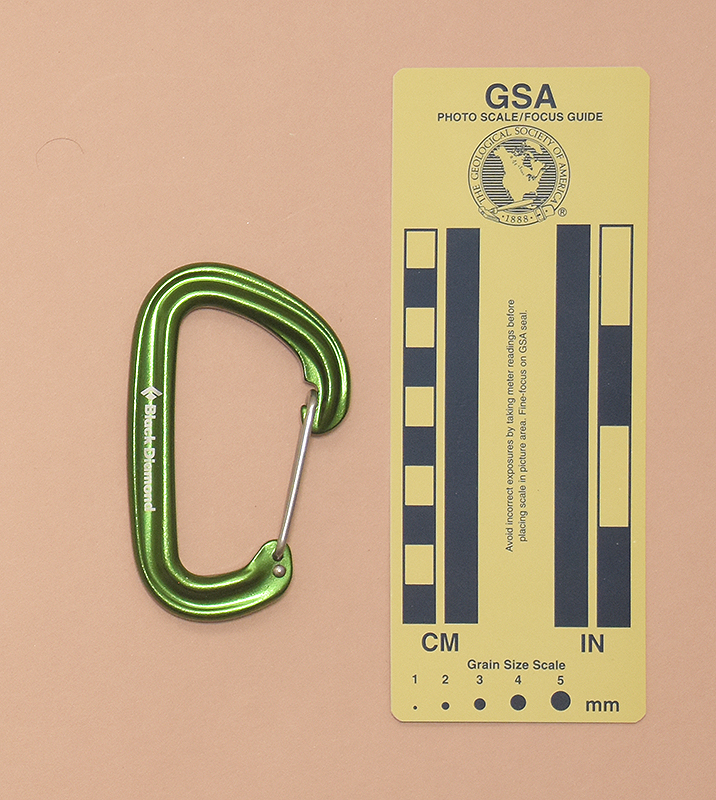
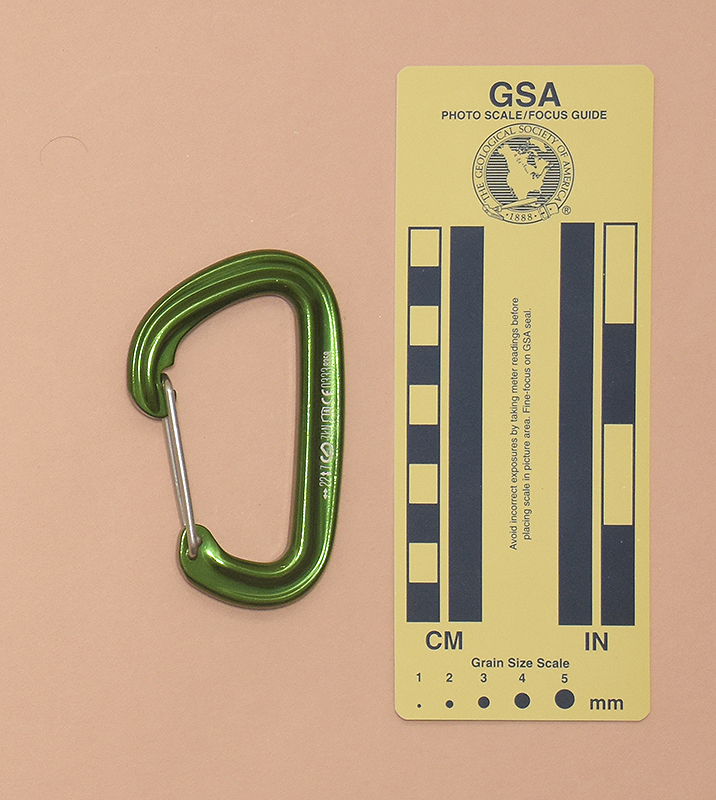
↑ 159: Black Diamond LiteWire
- 91x56 mm., 36 g.
- Gate Opening: 23 mm., Clearance: 20 mm.
- <BD logo> Black Diamond
↔22↕7ⱷ7kN<iBook>CE0333 8358
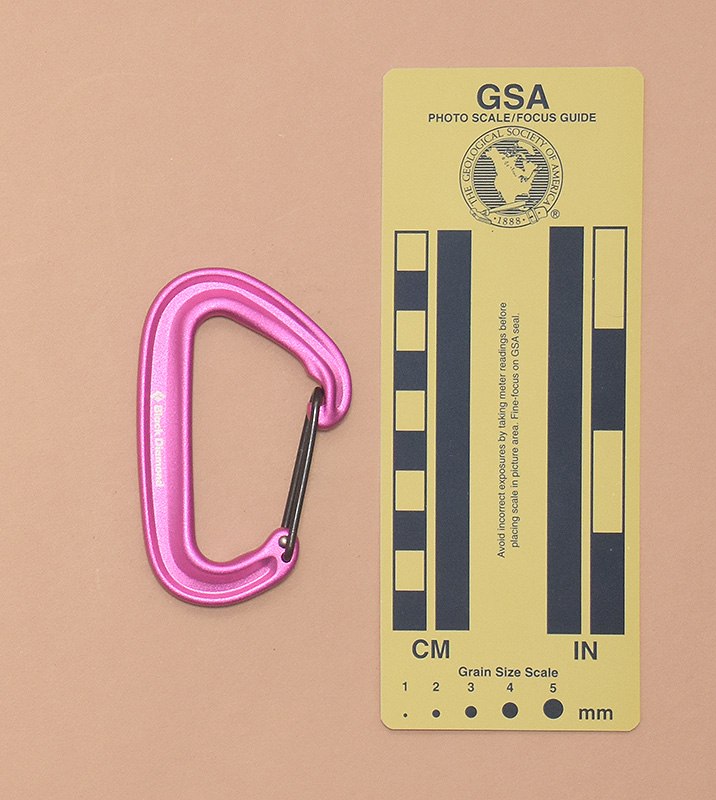
↑ 357: Black Diamond MiniWire
- 85x53 mm., 24 g.
- Gate Opening: 21 mm., Clearance: 18 mm.
- <BD logo> Black Diamond
↔20↕7ⱷ7kN<iBook>CE2777<UKCA>0321 2324