
Black Diamond
Locking
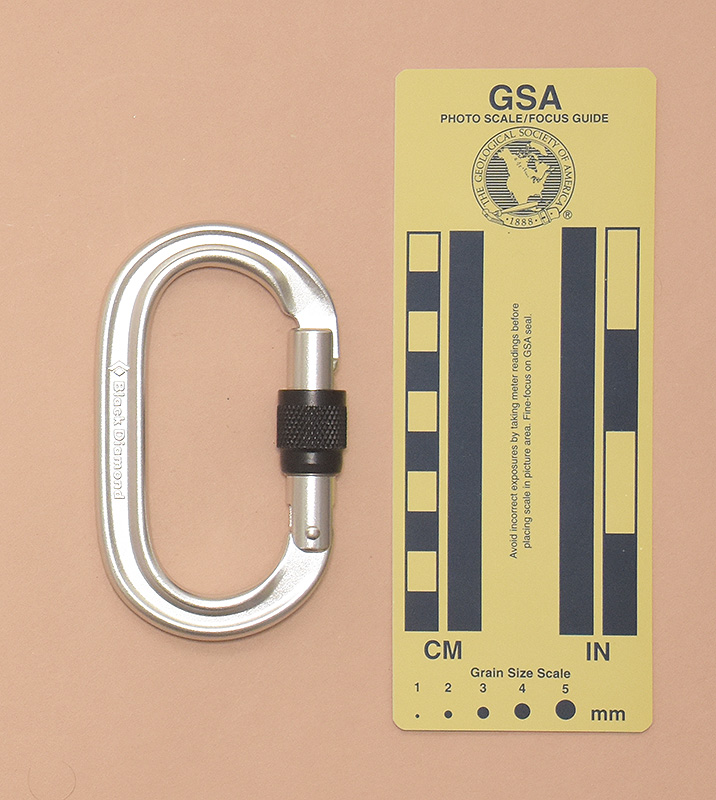

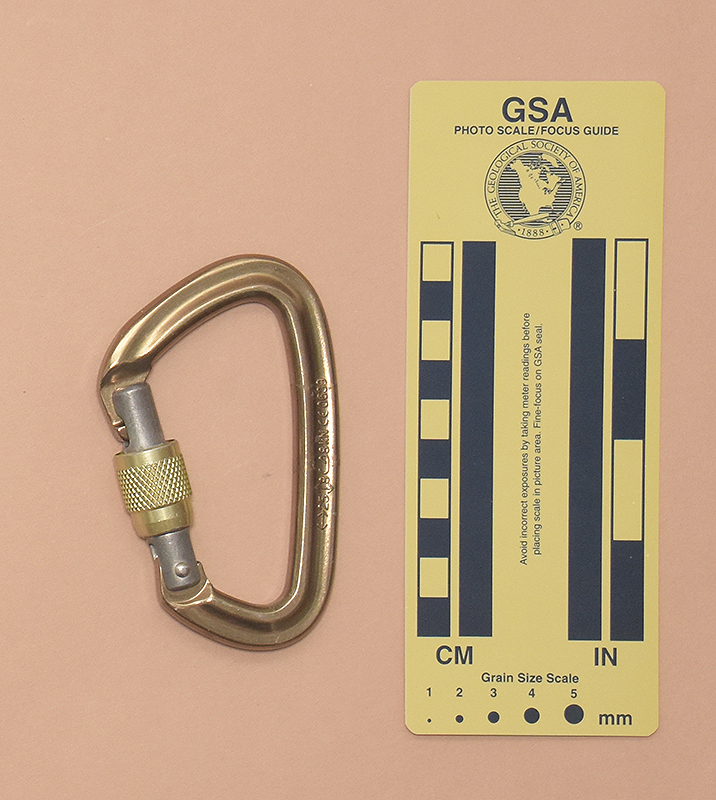
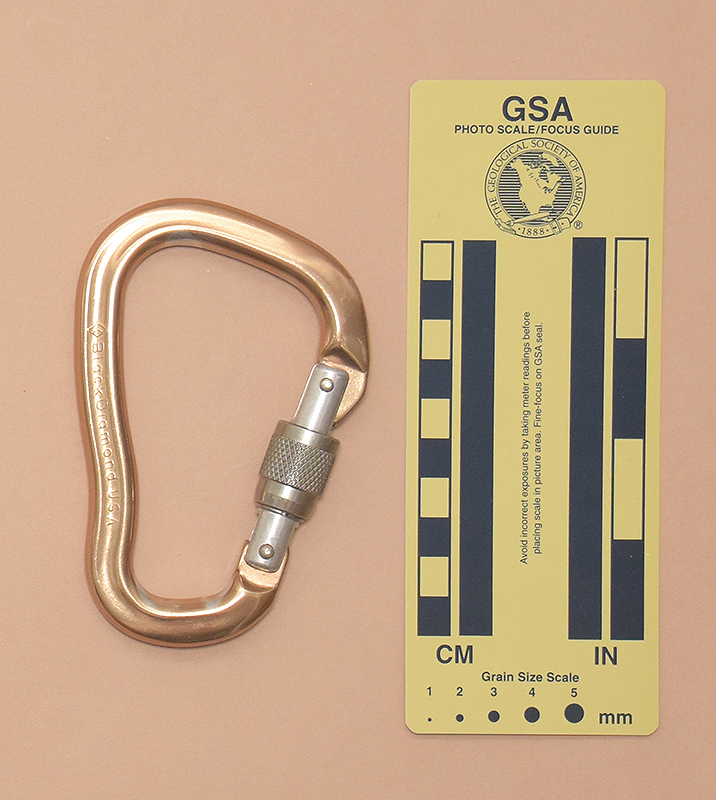
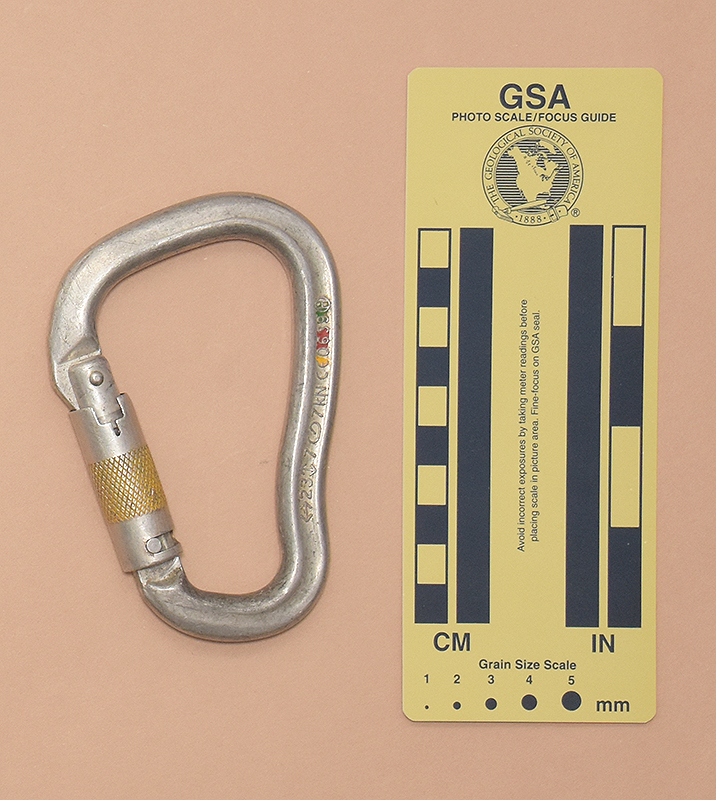
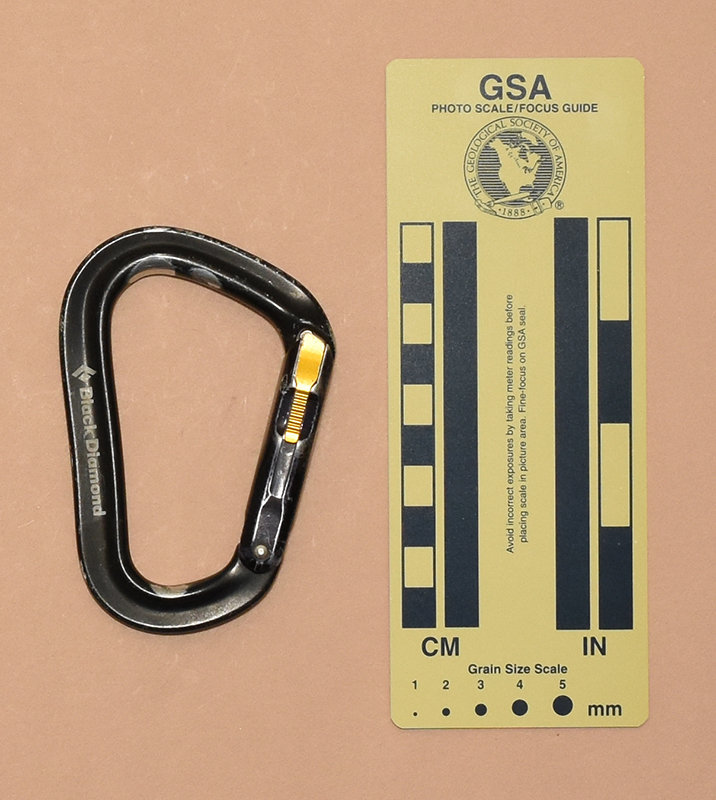
↑ 409: Black Diamond Oval Keylock Screwgate
- 105x62 mm., 61 g.
- Gate Opening: 18 mm., Clearance: 18 mm.
- <BD logo>BlackDiamond
↔23↕9ⱷ7kN<ibook>CE0333(B)22101
1021
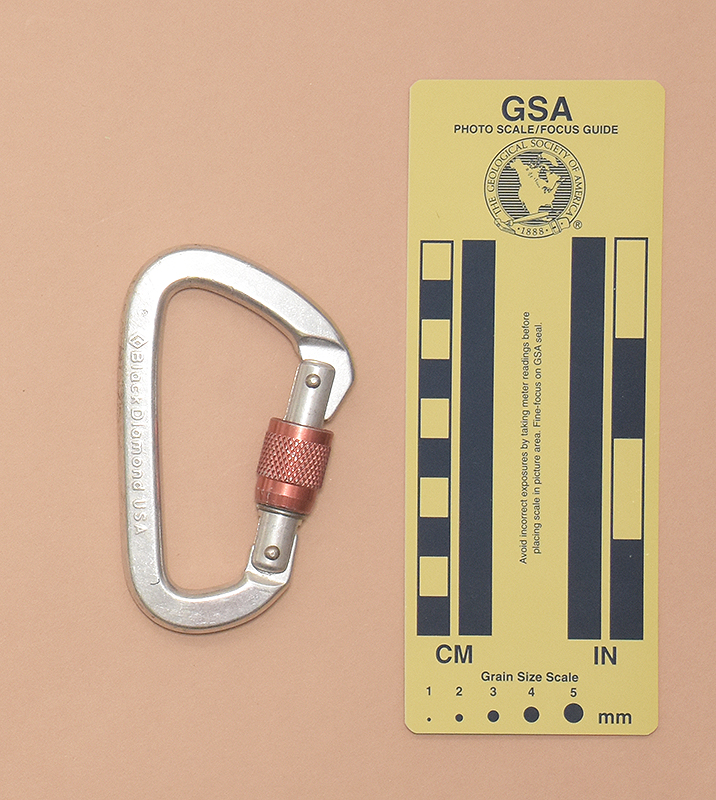
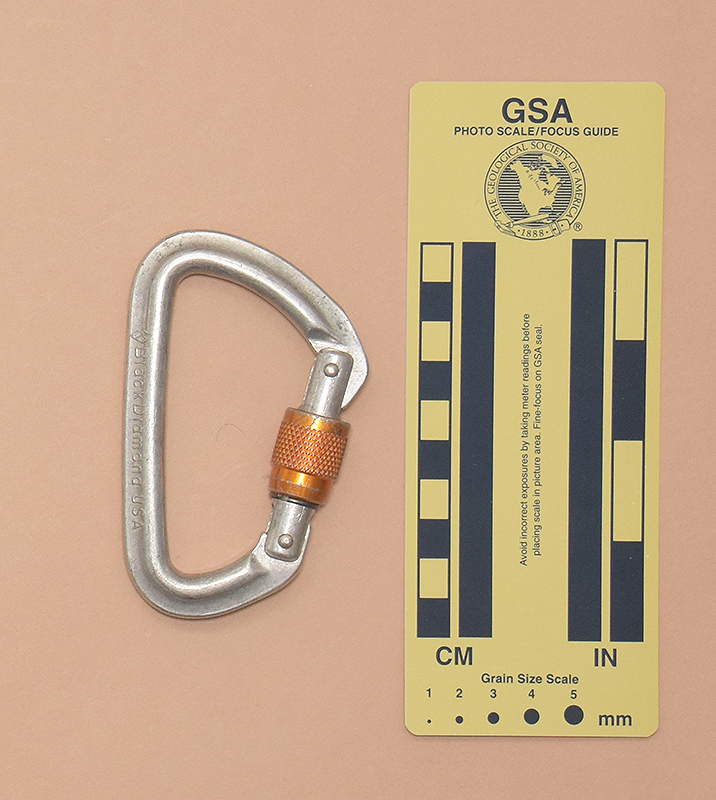
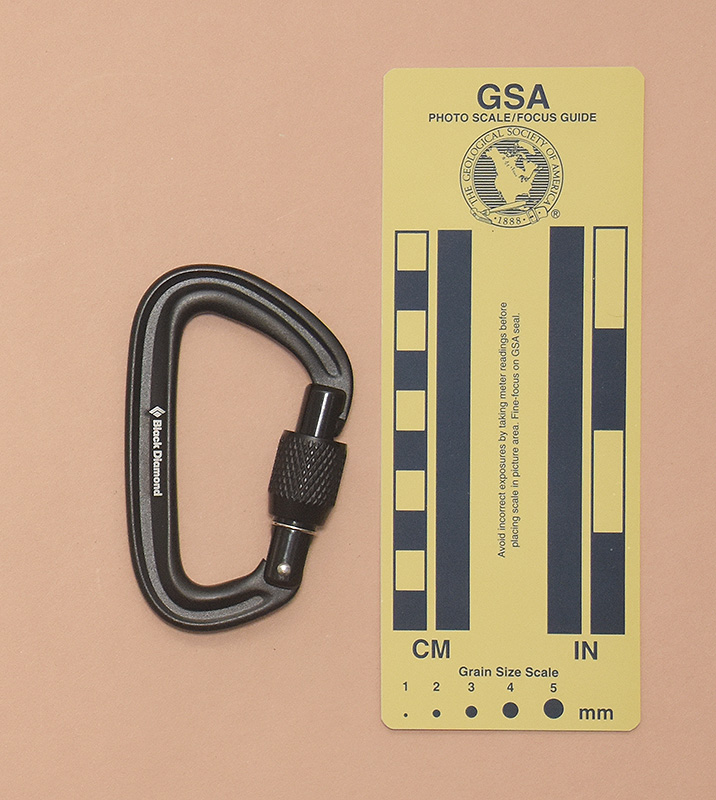
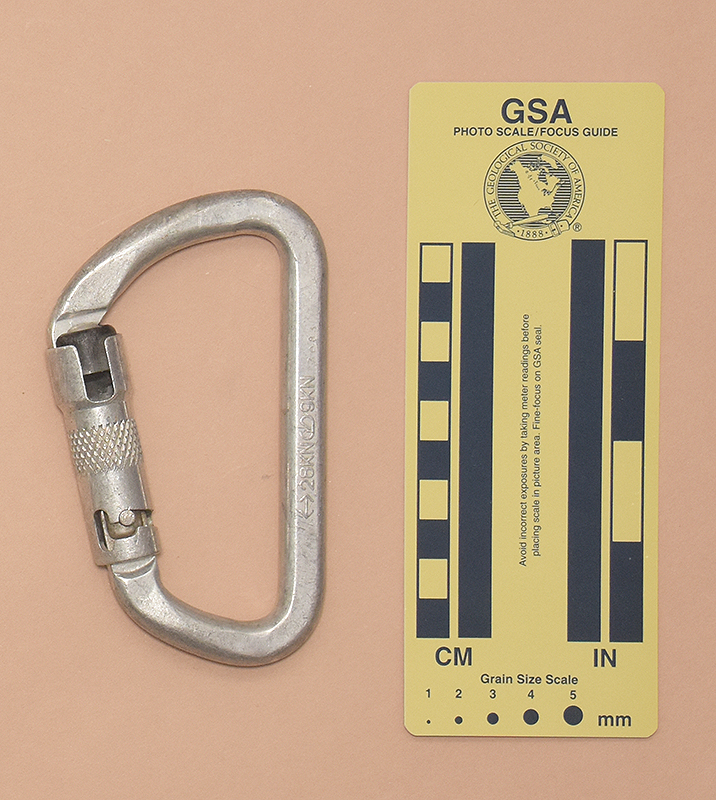
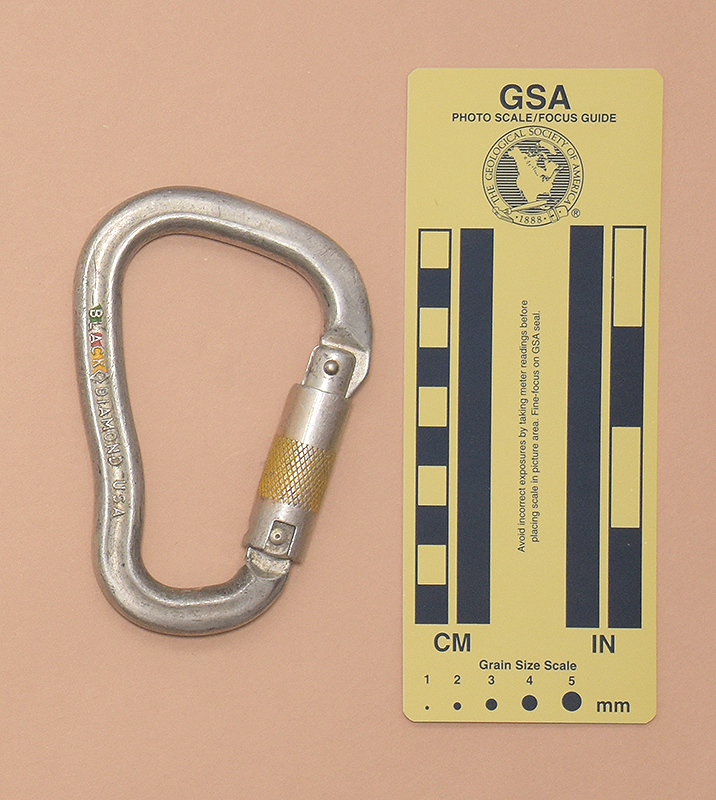
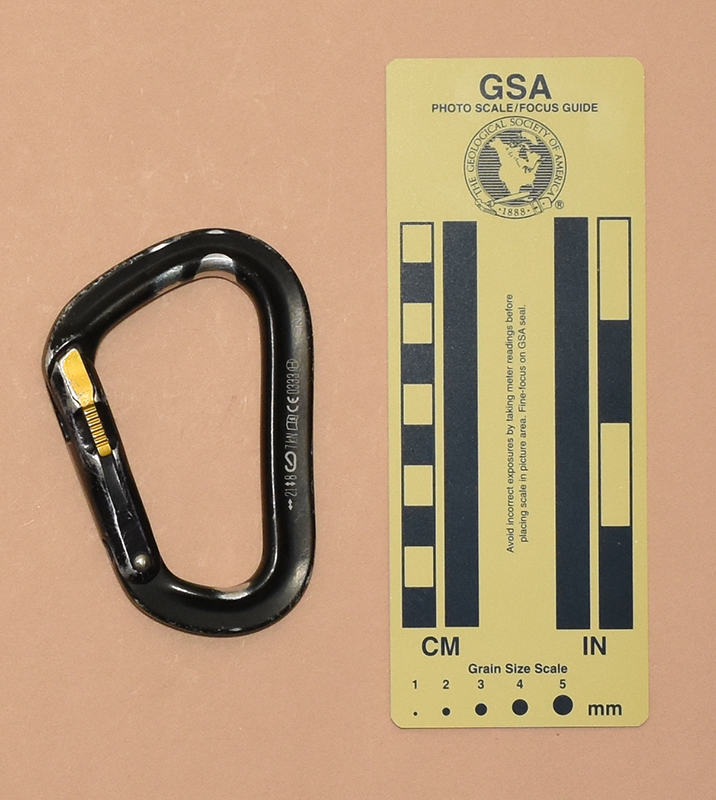
↑ 151: Black Diamond Locking D
- 98x59 mm., 55 g.
- Gate Opening: 14 mm.
- <BD logo>BlackDiamond USA
↔24↕7ⱷ8KN CE 0639
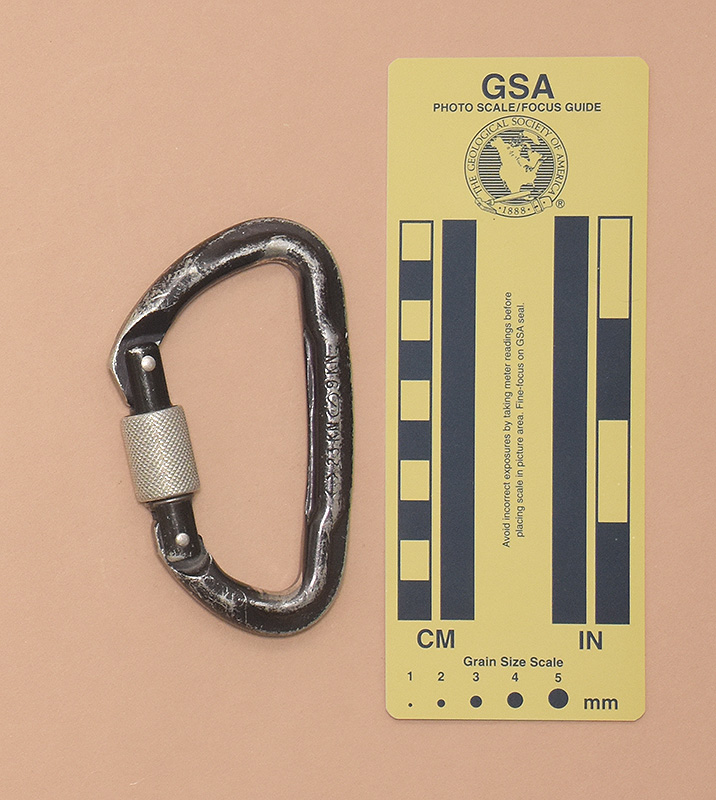
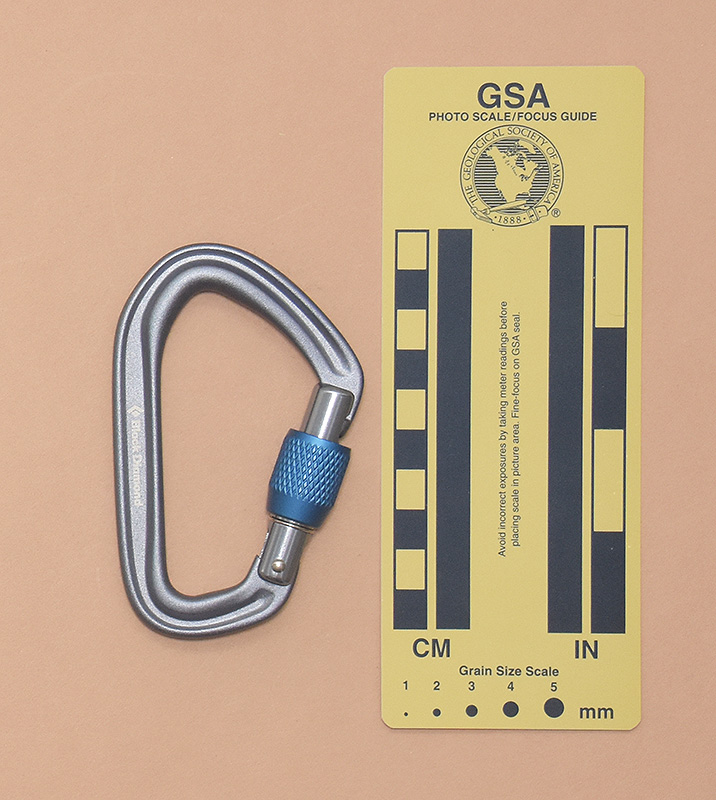
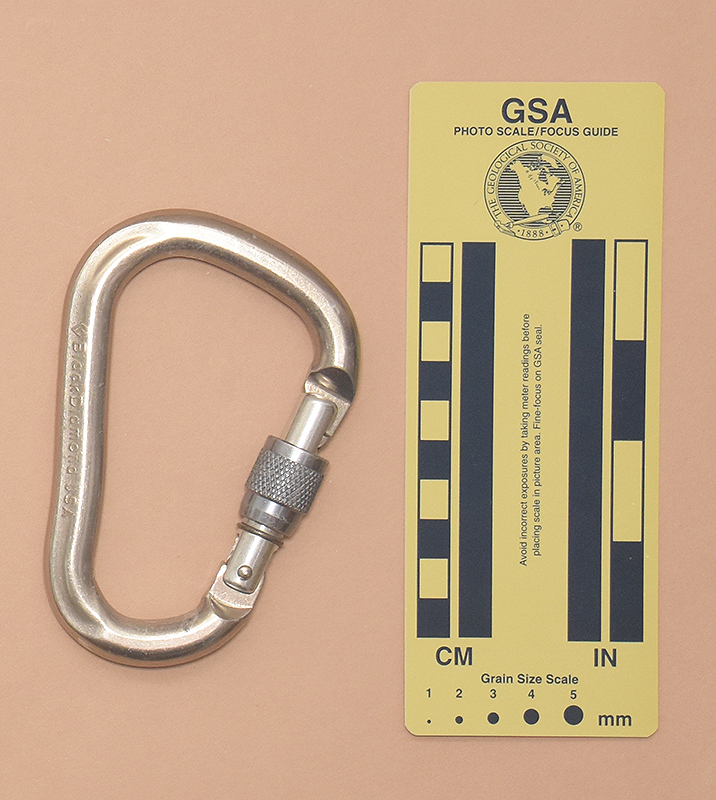
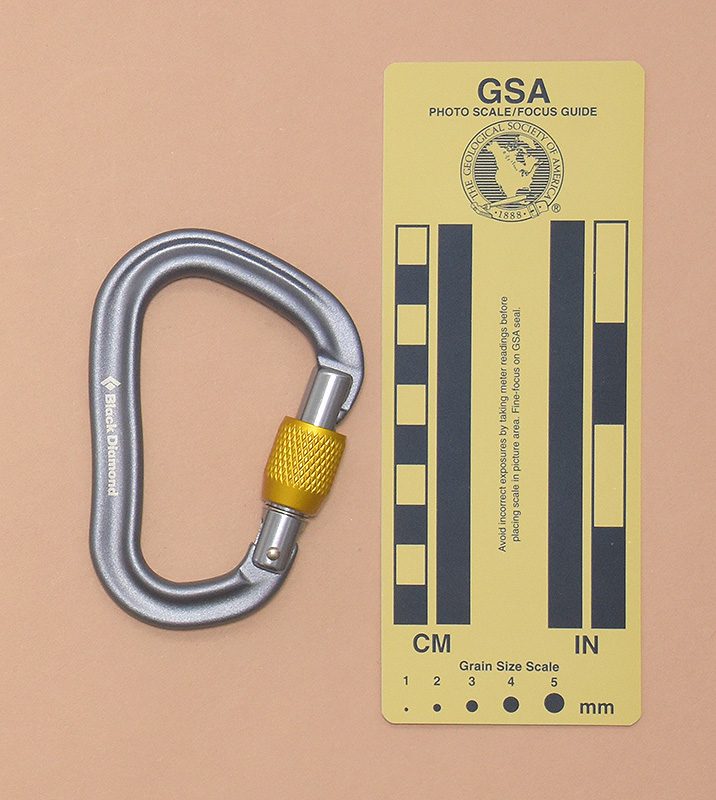
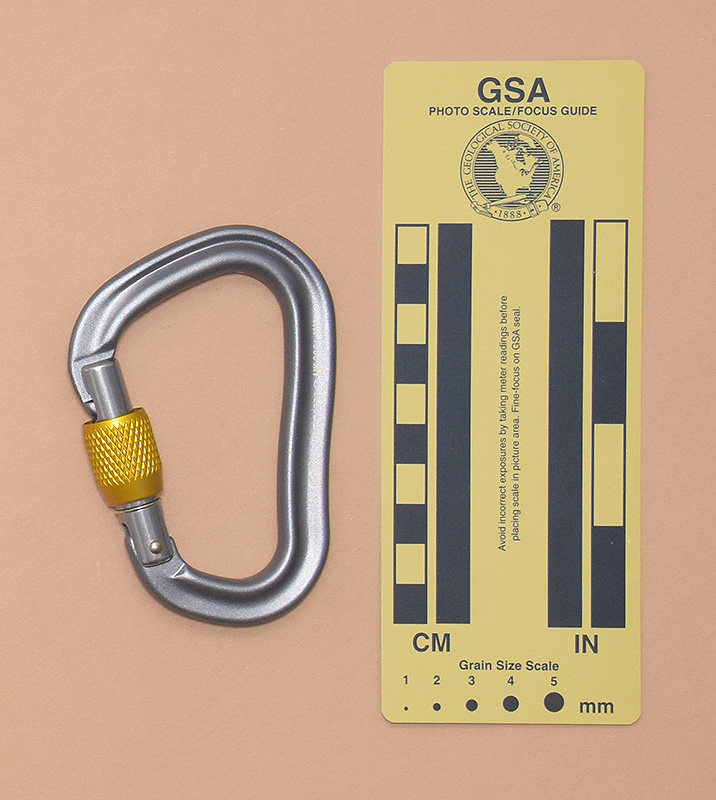
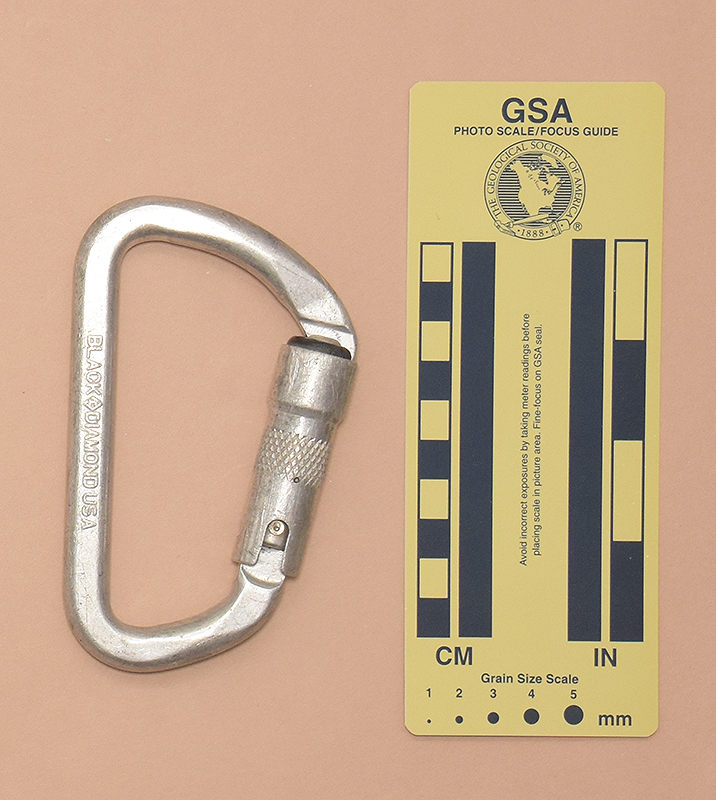
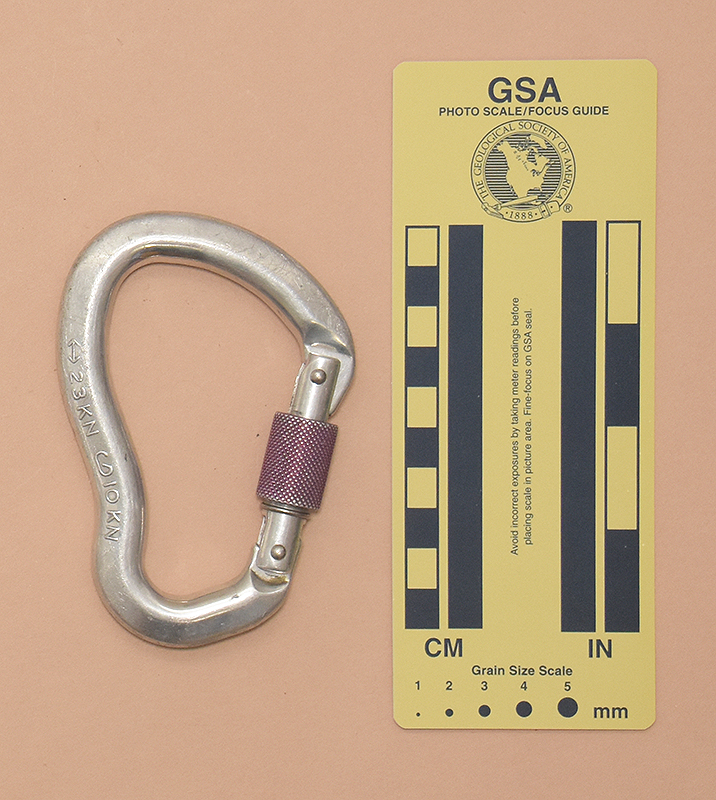
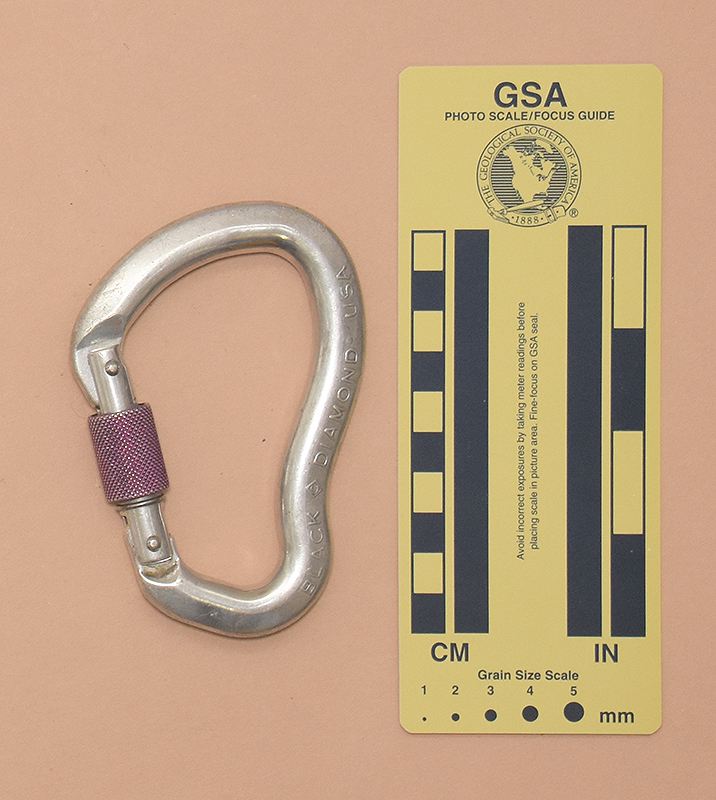
↑ 395: Black Diamond Locking D
- 105x61 mm., 58 g.
- Gate Opening: 18 mm.
- BLACK◊DIAMOND USA
↔23KN ⱷ9KN
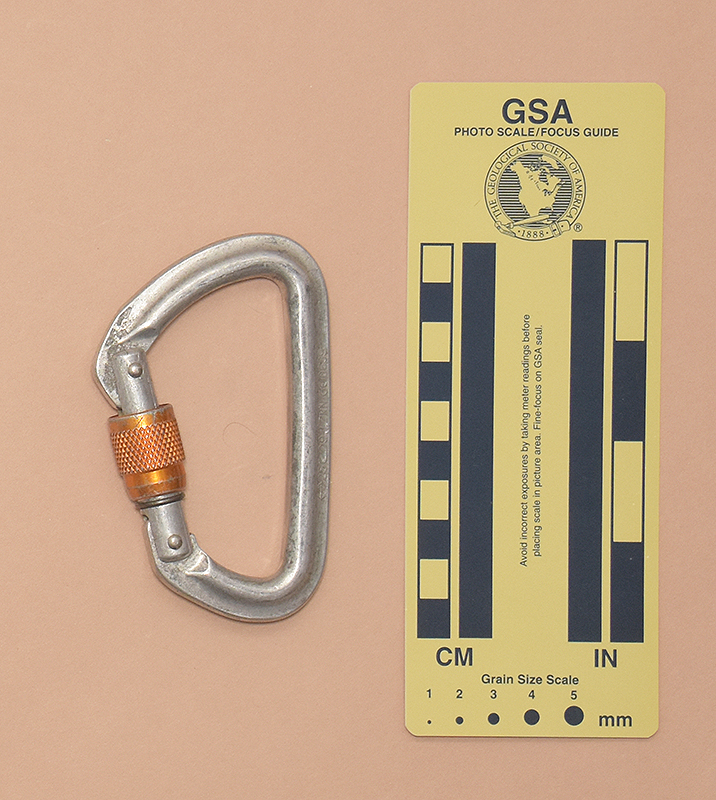
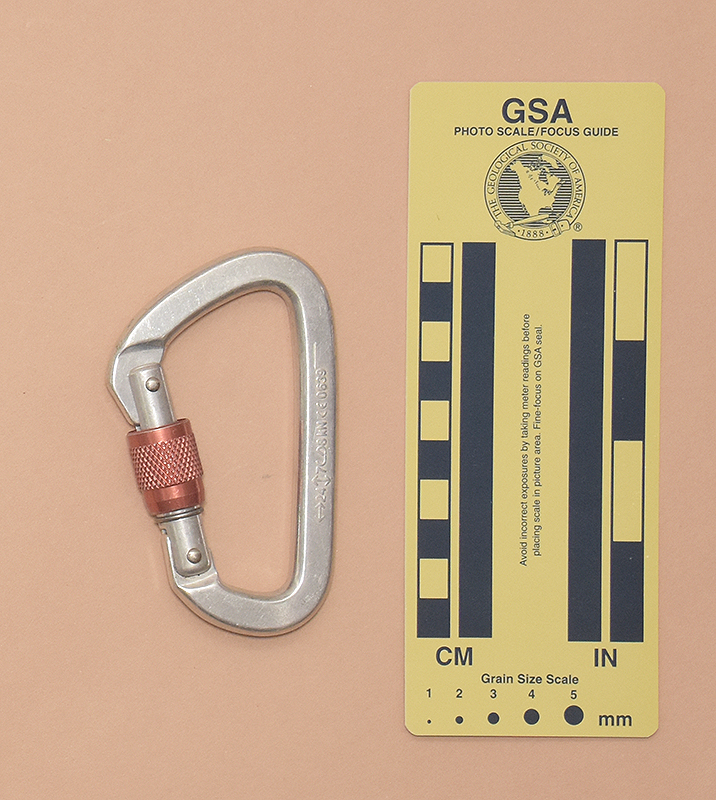
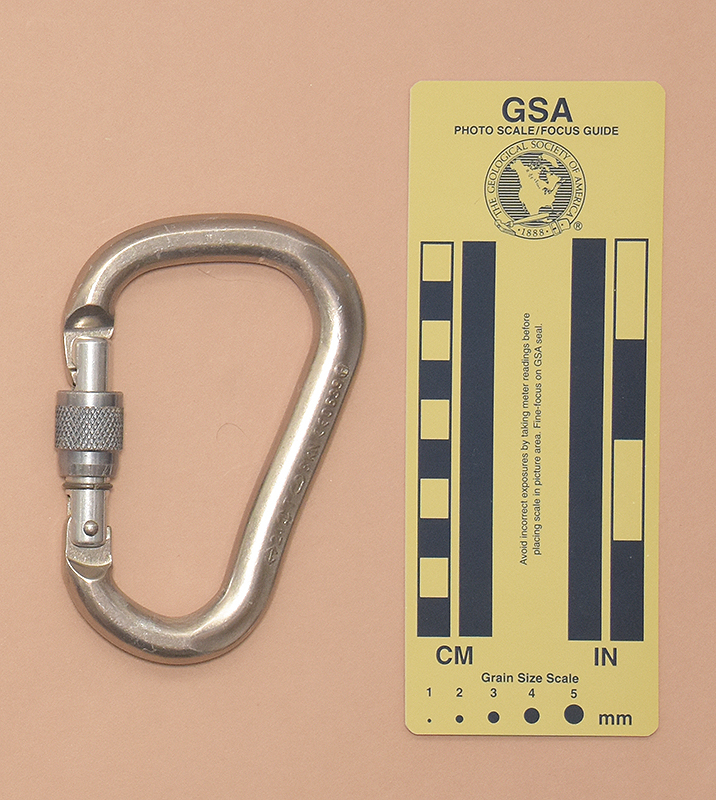
↑ 153: Black Diamond Locking D
- 98x61 mm., 56 g.
- Gate Opening: 17 mm.
- <BD logo>BlackDiamond USA
↔25ⱷ9KN↕7 CE 0639

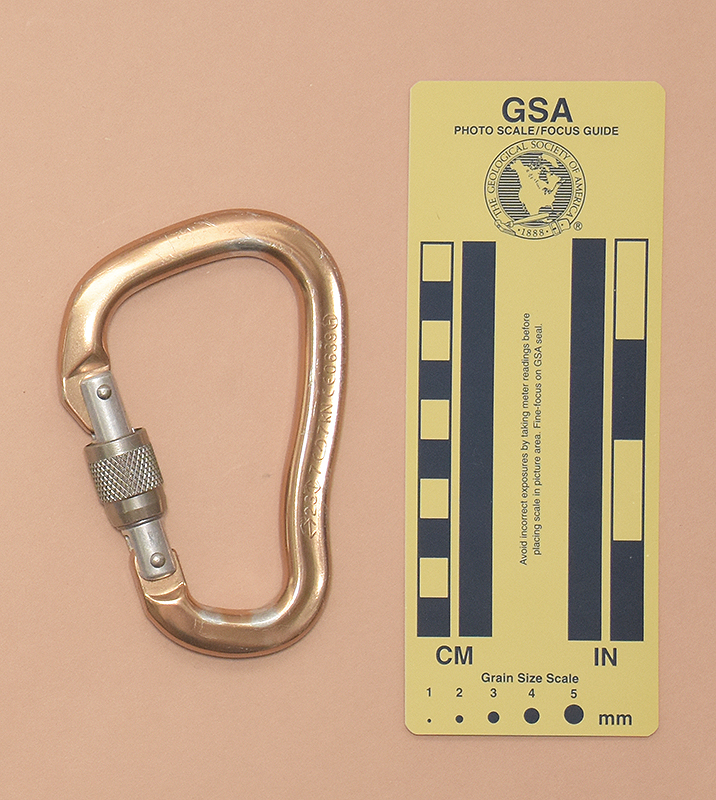
↑ 150: Black Diamond Locking D
- 100x61 mm., 56 g.
- Gate Opening: 18 mm.
- <BD logo>BlackDiamond USA
↔25↕8ⱷ8KN CE 0639
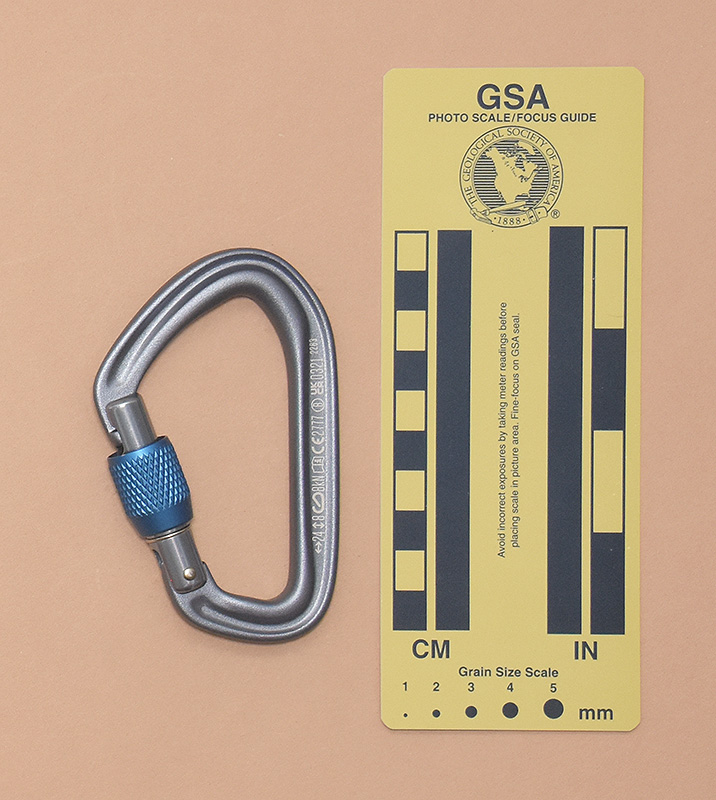
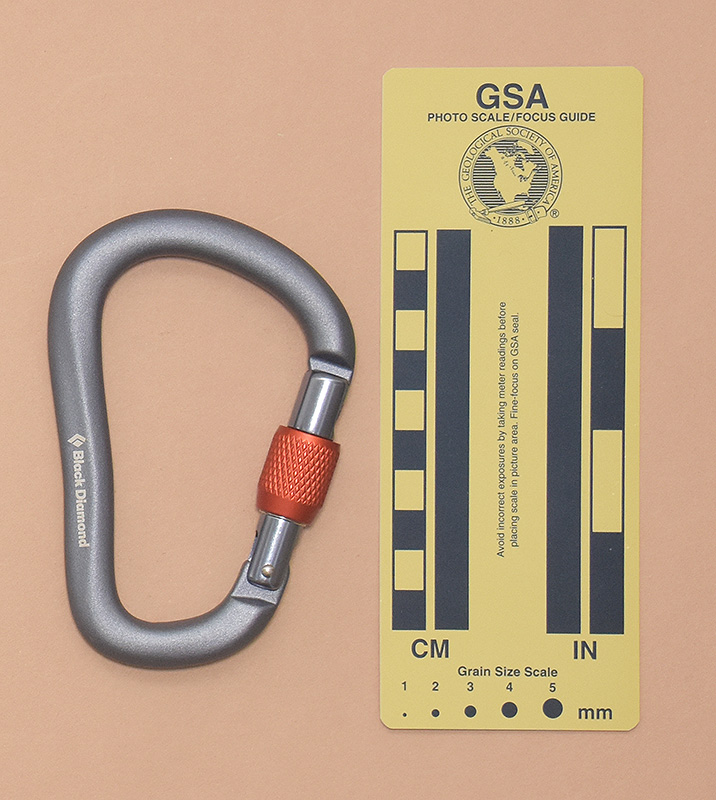
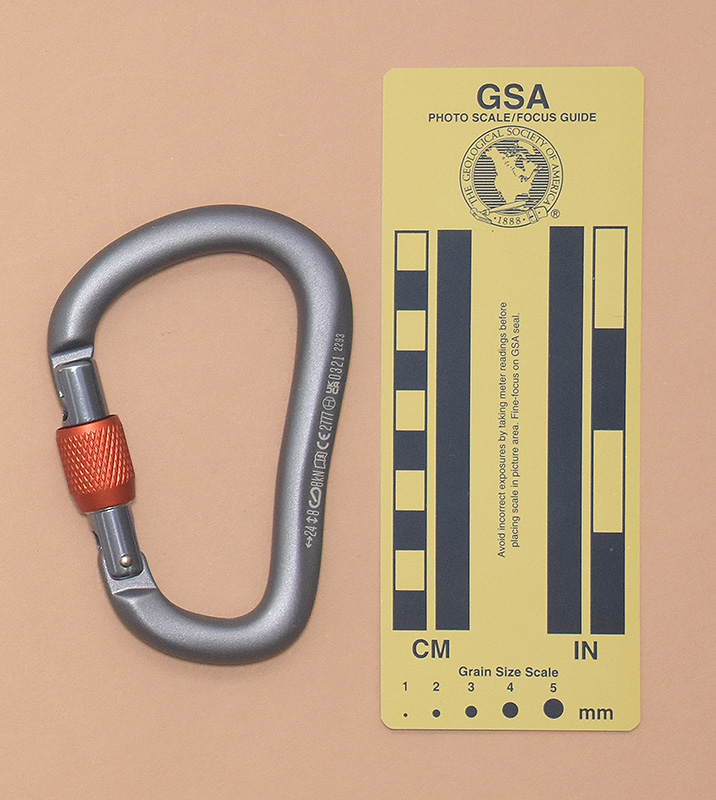
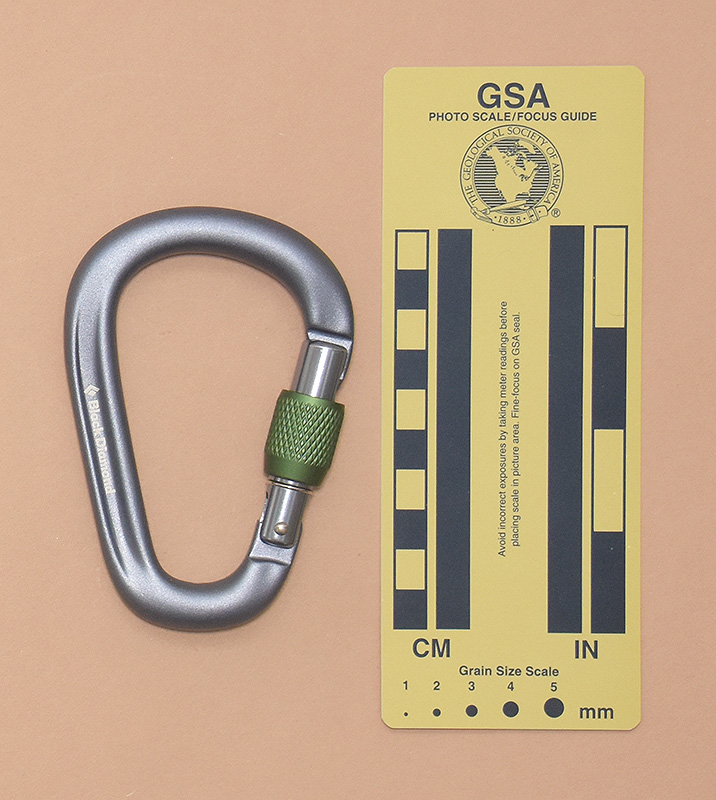
↑ 353: Black Diamond HotForge Screwgate
- 95x62 mm., 49 g.
- Gate Opening: 19 mm.
- <BD logo> Black Diamond
↔24↕8ⱷ8kN<iBook>CE2777(B)<UKCA>0321 2263
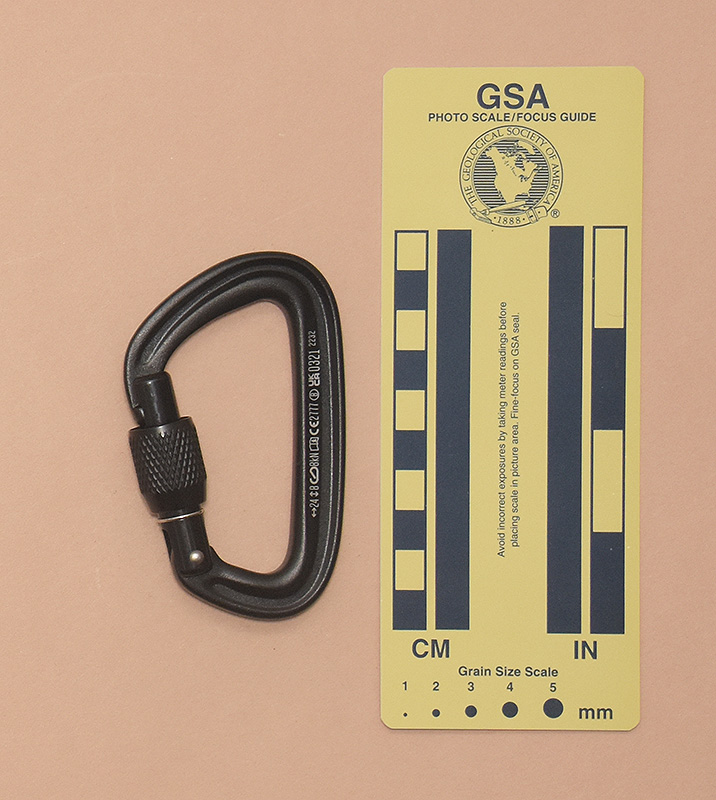
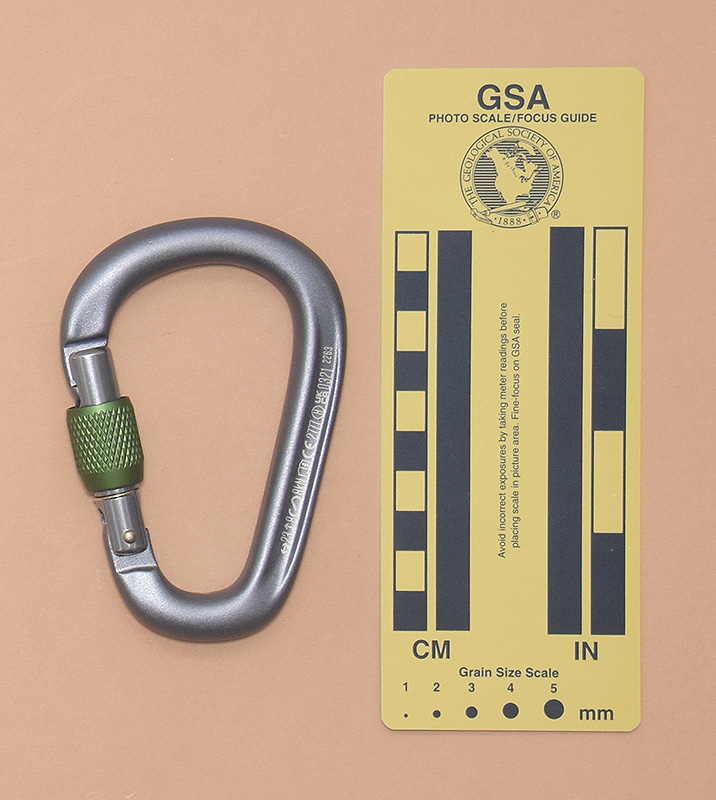
↑ 356: Black Diamond LiteForge Screwgate
- 92x56 mm., 44 g.
- Gate Opening: 15 mm.
- <BD logo> Black Diamond
↔24↕8ⱷ8kN<iBook>CE2777(B)<UKCA>0321 2232
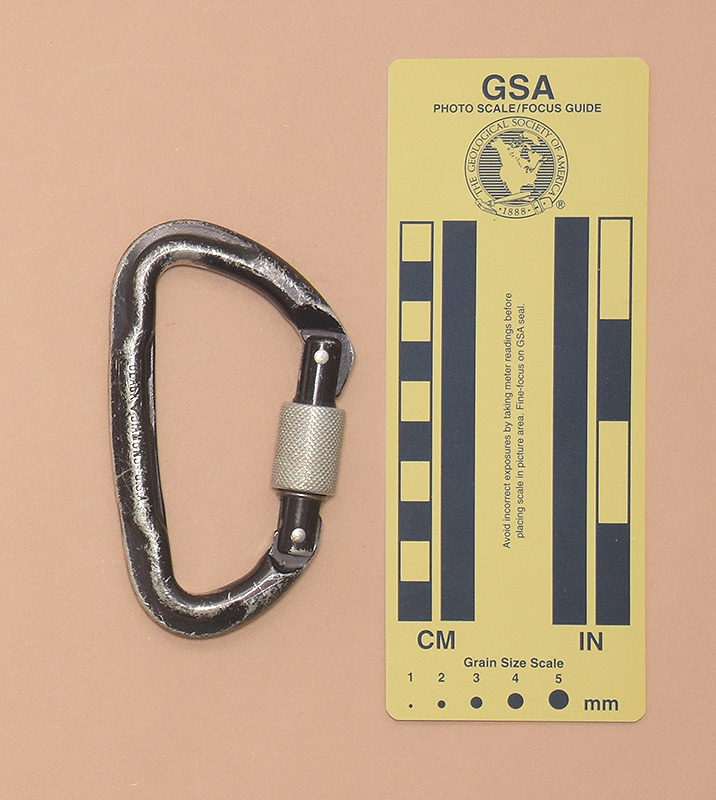
↑ 063: Black Diamond Locking D
- 116x75 mm., 86 g.
- Gate Opening: 23 mm.
- <BD logo>Black Diamond USA
↔24↕7ⱷ7 KN CE0333(H)
↑ 149: Black Diamond Locking D
- 113x75 mm., 76 g.
- Gate Opening: 21 mm.
- <BD logo>BlackDiamond USA
↔23↕7ⱷ7KN CE 0639(H)
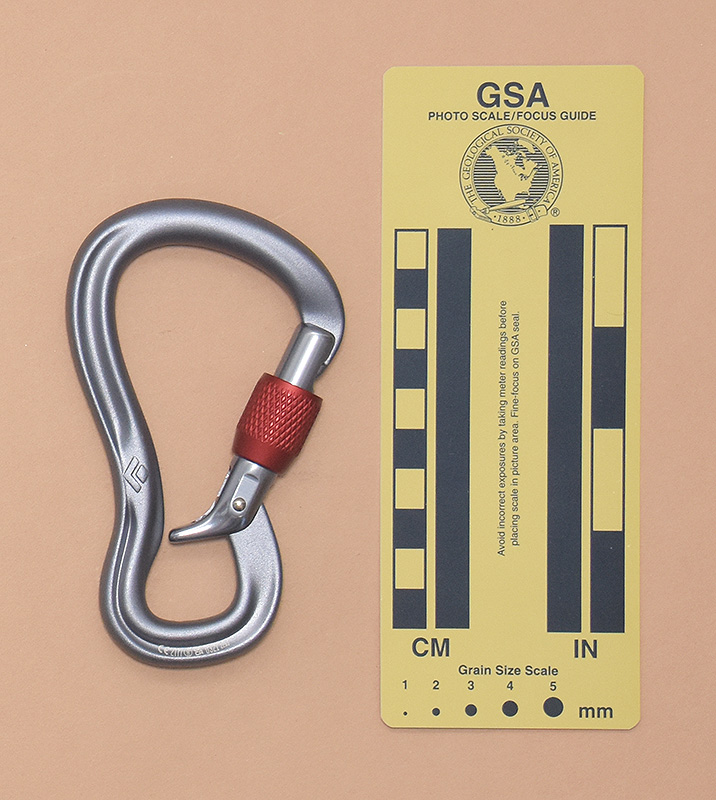
↑ 449: Black Diamond VaporLock Screwgate
- 100x68 mm., 52 g.
- Gate Opening: 20 mm., Clearance: 20 mm.
- <BD logo>BlackDiamond
↔21↕8ⱷ7kN<ibook>CE2777(H)<UKCA>0321 2293
1021
↑ 359: Black Diamond RockLock Screwgate
- 115x76 mm., 87 g.
- Gate Opening: 25 mm.
- <BD logo>BlackDiamond
↔24↕8ⱷ8KN <iBook>CE 2777 (H)<UKCA>0321 2293
↑ 358: Black Diamond PearLock Screwgate
- 106x72 mm., 79 g.
- Gate Opening: 22 mm.
- <BD logo> Black Diamond
↔23↕8ⱷ8kN<iBook>CE2777(H)<UKCA>0321 2263
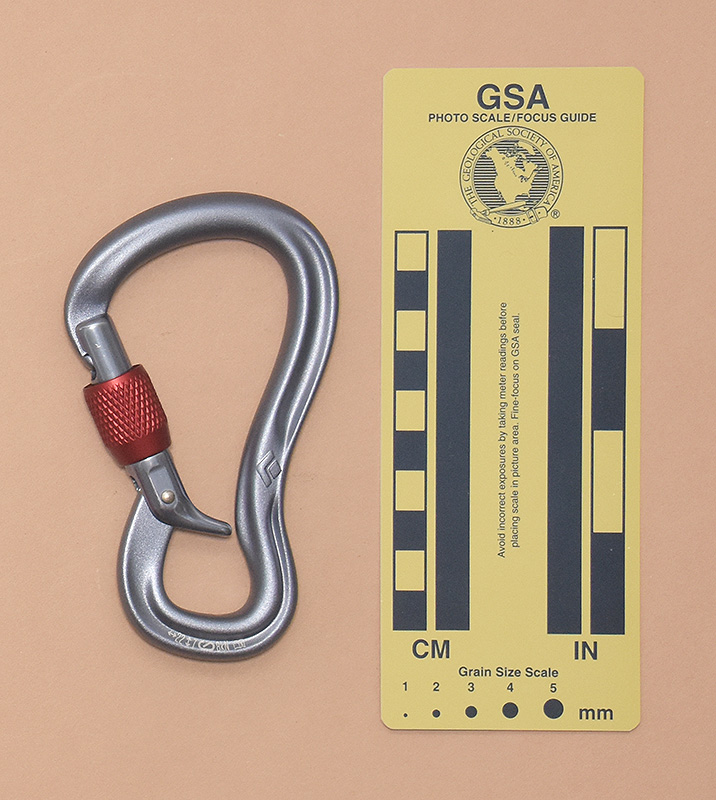
↑ 152: Black Diamond Vaporlock
- 120x71 mm., 88 g.
- Gate Opening: 20 mm.
- BLACK◊DIAMOND USA
↔28KNⱷ9KN
↑ 586: Black Diamond Locking D
- 108x73 mm., 79 g.
- Gate Opening: 21 mm., Clearance: 21 mm.
- ↔23KN ⱷ10KN
BLACK◊DIAMOND
↑ 148: Black Diamond Autolocking D
- 114x75 mm., 80 g.
- Gate Opening: 22 mm.
- BLACK◊DIAMOND USA
↔23↕7ⱷ7KN CE 0639(H)
↑ 148: Black Diamond Autolocking D
- 114x75 mm., 80 g.
- Gate Opening: 22 mm.
- BLACK◊DIAMOND USA
↔23↕7ⱷ7KN CE 0639(H)
↑ 604: Black Diamond Vaporlock Magnetron
- 100x68 mm., 56 g.
- Gate Opening: 22 mm., Clearance: 18 mm.
- <BD logo> Black Diamond
↔21↕8ⱷ7kN<iBook>CE0333(H)
7024 - Magnetic lock closure
↑ 351: Black Diamond GridLock Belay Screwgate Locking
- 117x68 mm., 76 g.
- Gate Opening: 21 mm.
- <BD logo> CE 2777 (H) <UKCA> 0321 2293
<BD logo> ↔22↕7ⱷ8kN <iBoook>